Easy Cherry Cheesecake Cookie Cups
As an Amazon Associate, I earn from qualifying purchases. Read the full disclosure here.
Who doesn’t love the rich and creamy taste of cheesecake? Now imagine it stuffed into an irresistibly soft and sweet cookie — your taste buds are sure to be delighted! These mini Cherry Cheesecake Cookie Cups combine the classic flavors of cherry and cheesecake for a delicious treat that’s sure to be a hit!
More yummy cherry delights? Check out these 4th of July Cherry Bomb Cupcakes, Cherry Cheesecake Swirl Brownies, Easy Cherry Cheesecake Dessert and this scrumptious Sour Cherry Cobbler Coffee Cake for starters!
What Are Cookie Cups?
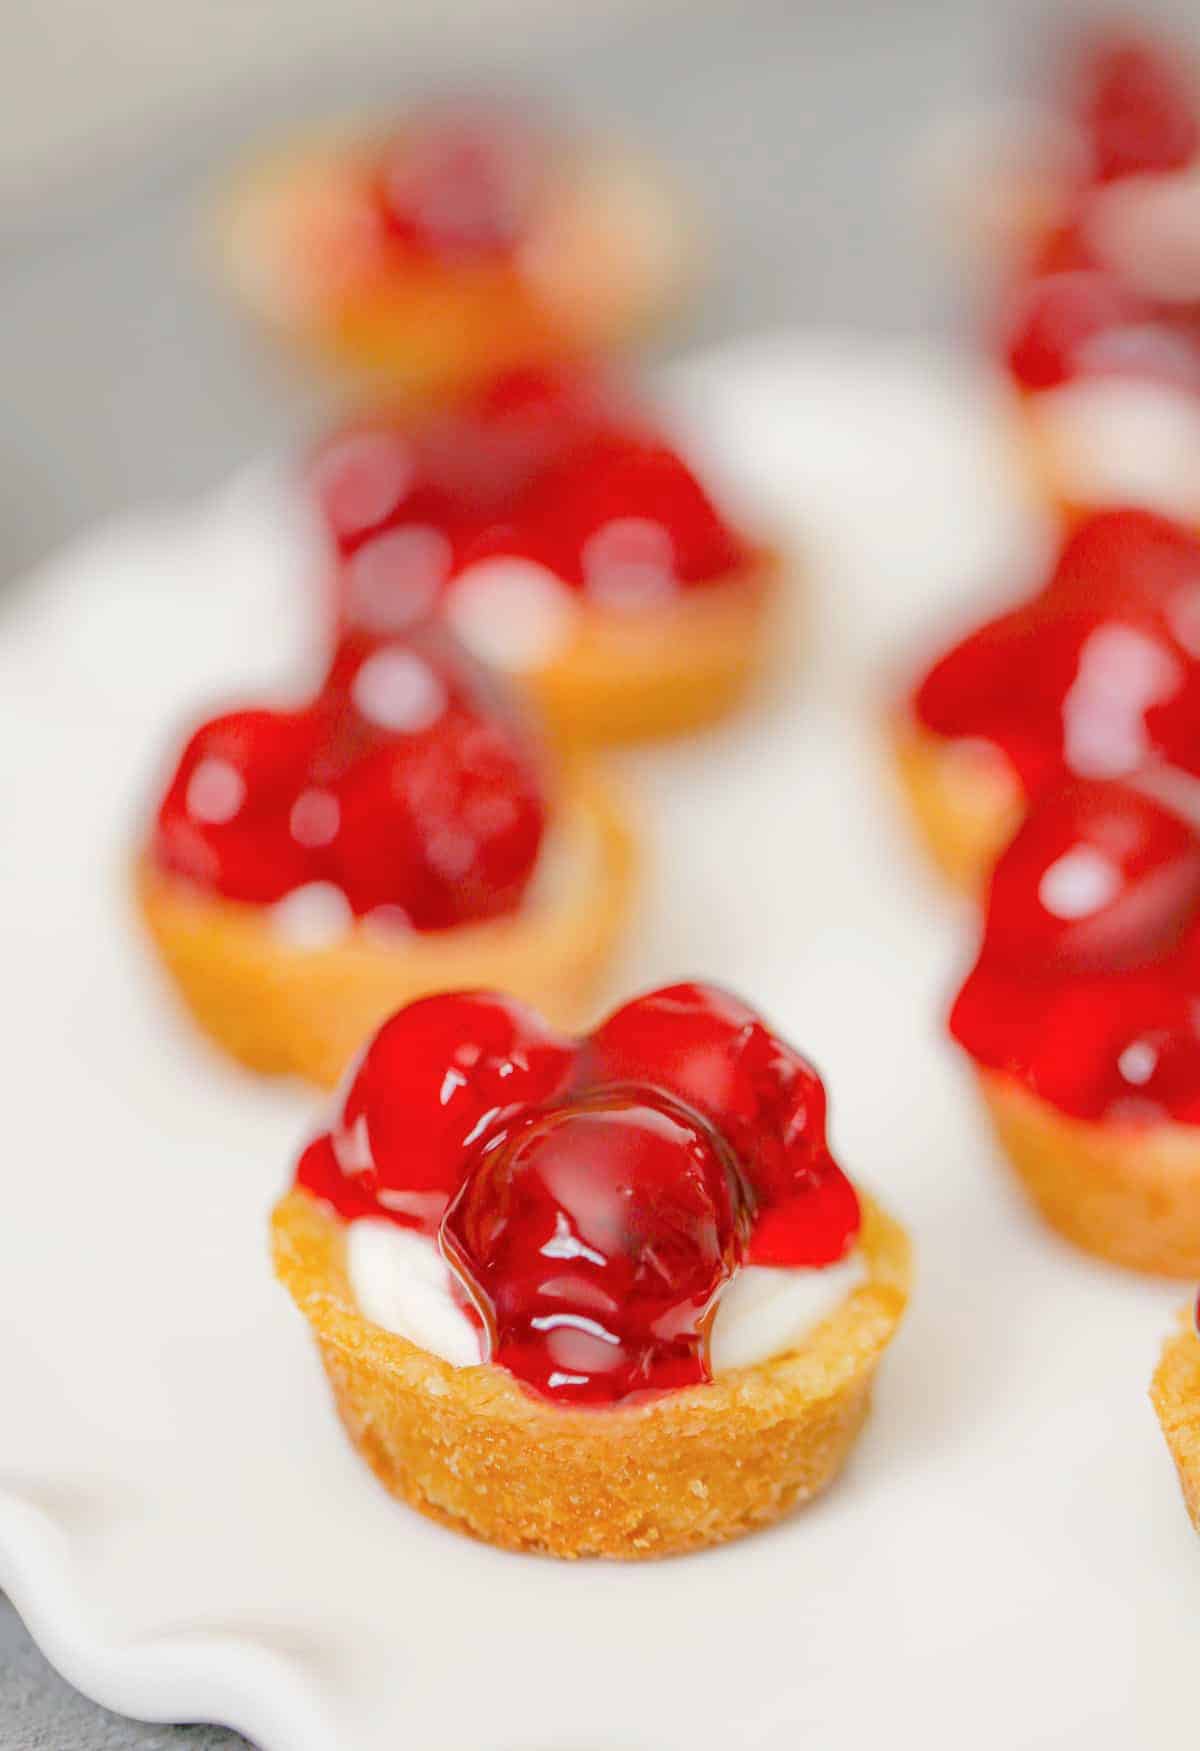
Cookie cups are made up of raw cookie dough that is placed into muffin tins to make bowl shaped cookies. Once the cookie dough is baked you can fill them and turn them into a handheld mini cookie desserts that no one can resist!
Don’t be fooled by their small size – these cookie cups pack a powerful flavor punch! As an added bonus: they are surprisingly simple to make, but your guests will think you spent days in the kitchen preparing them. Use any cookie doughs or fillings for different variations for a fun experience!
More cookie cup love? You’ll wanna dive into these Salted Caramel Mousse ROLO Cookie Cups and these Awesome Peanut Butter Cookie Cups!
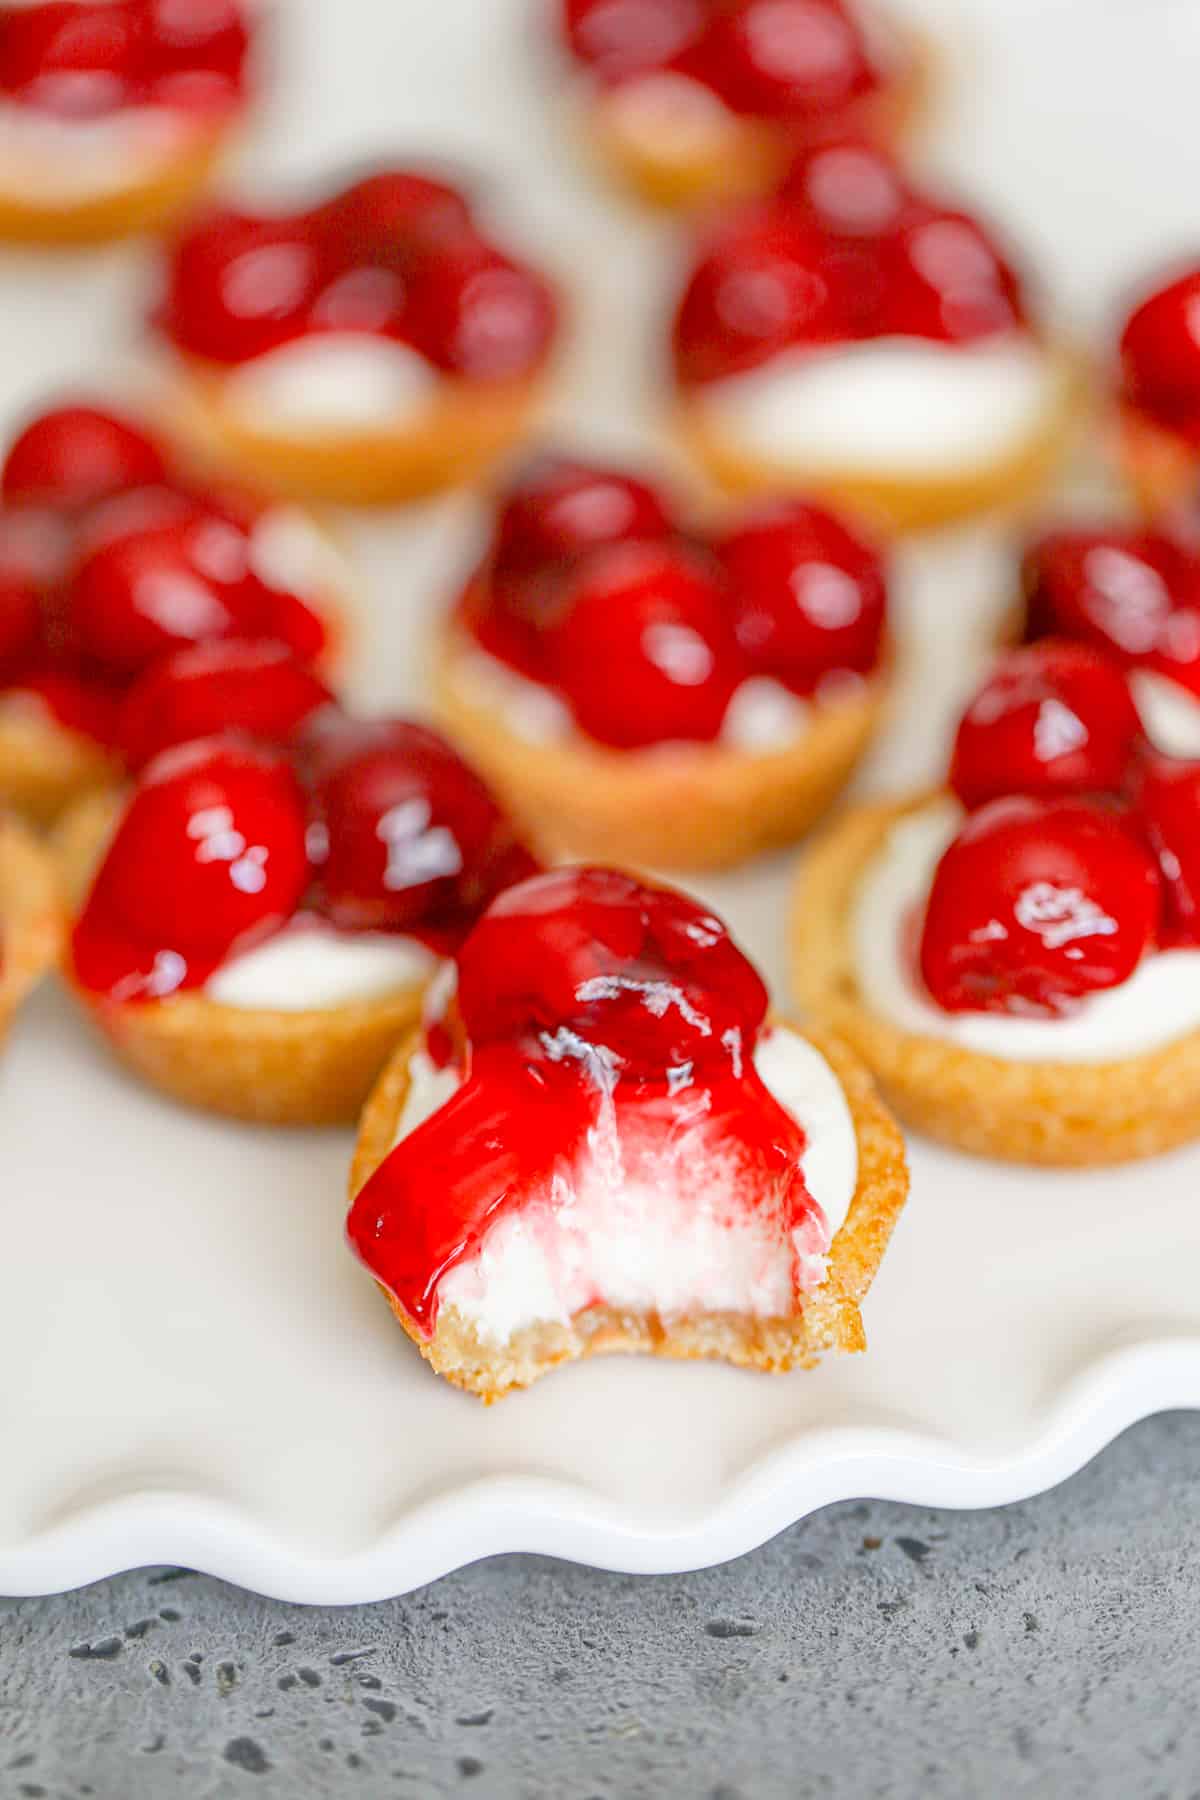
Why We Love This Easy Mini Cherry Cheesecake Sugar Cookie Cups Recipe
- Ok, first of all look how cute and delectable these little mini treats are! Who could resist popping these into your mouth?
- This recipe is so easy, so there’s no reason to be intimidated. For a simple shortcut, we used store-bought sugar cookie dough for the cookie cups!
- Sure to satisfy your sweet tooth. You get 24 mini bites of love!
- You get the best of both worlds – the crumbly texture of a cookie and the smooth, creamy taste of cheesecake. Cherries on top are like icing on the cake to make them complete!
- Portable dessert that’s sure to be a crowd pleaser.
- Perfect for any kind of party, shower or celebration or holiday like 4th of July, Christmas or Valentine’s Day!
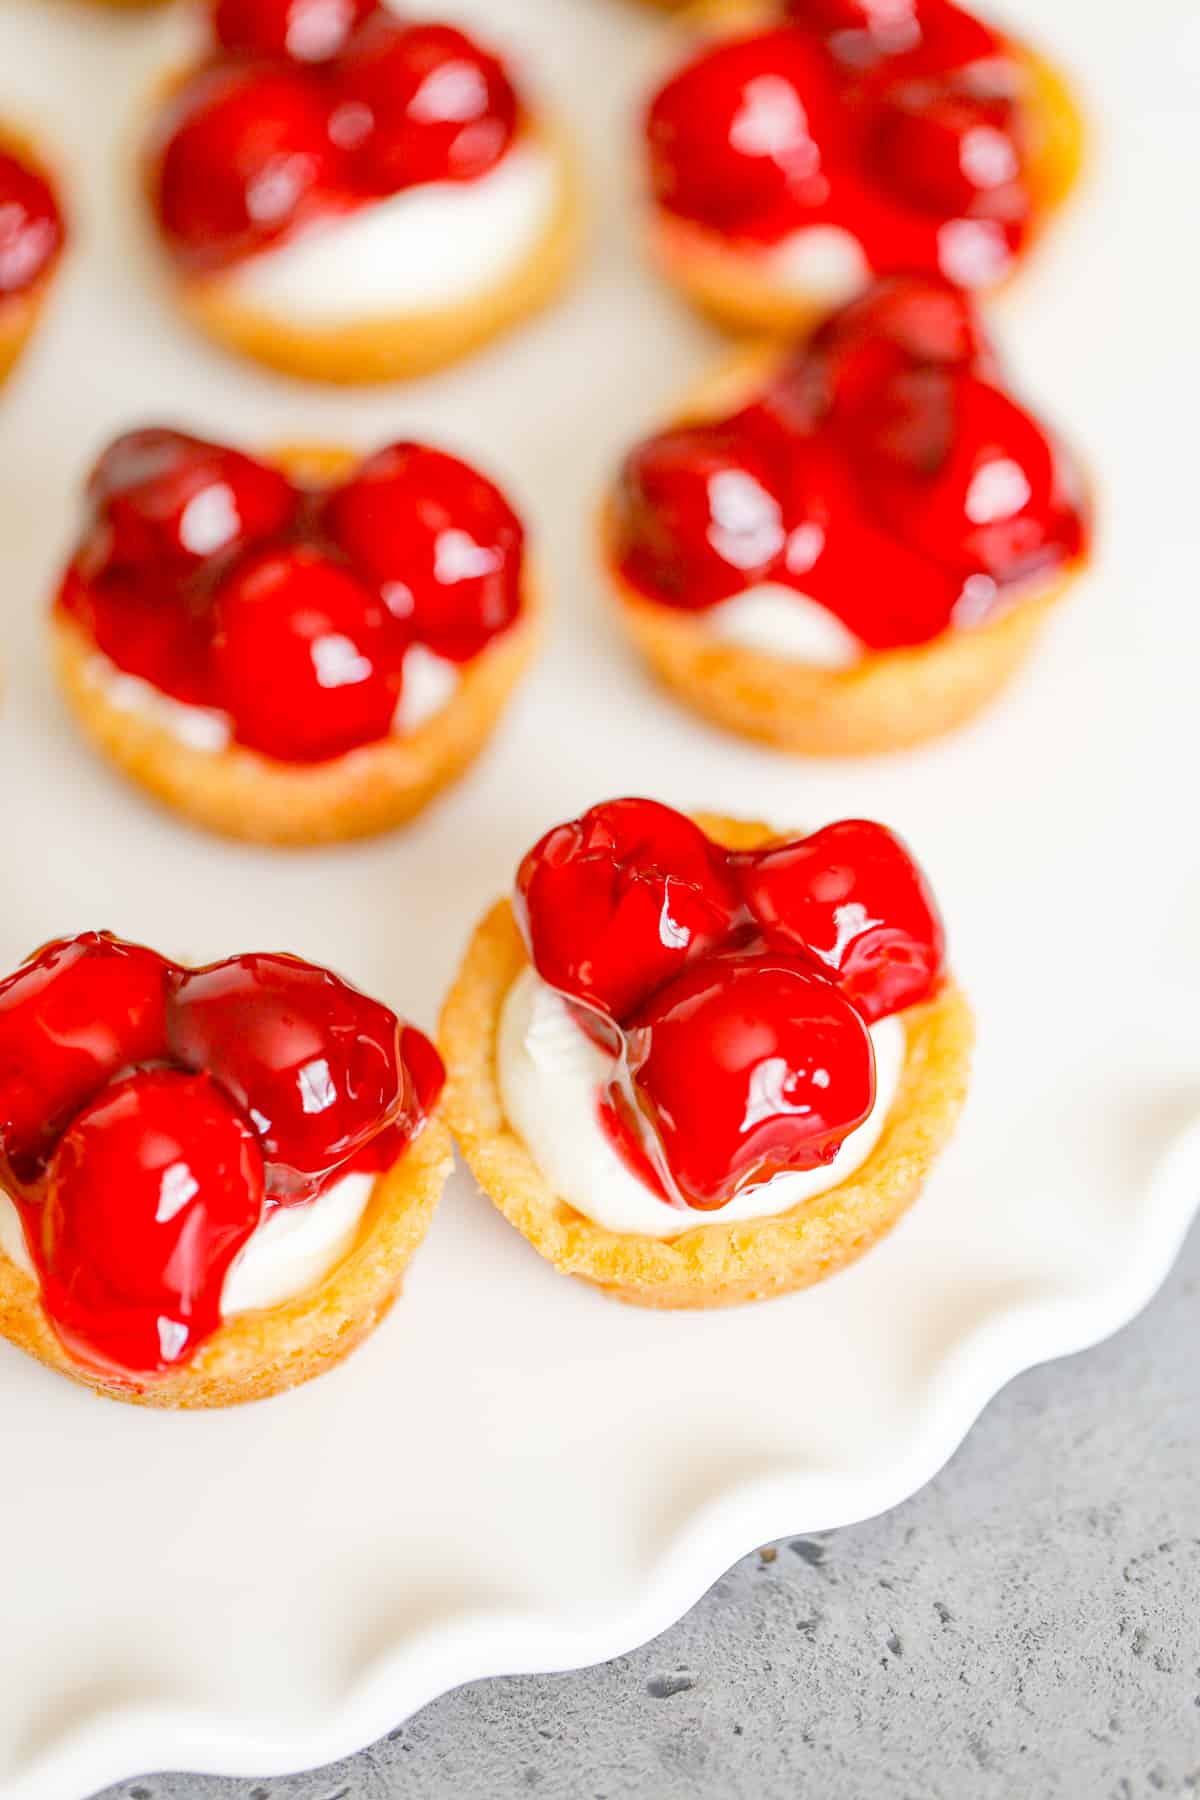
Learn how to make these delicious treats in just a few simple steps. From preparing the tasty filling to baking the cookie cups, we provide detailed instructions and useful tips to ensure that your mini treats are a hit with your family and friends.
So don’t wait – grab your ingredients and start baking!
Ingredients You Need
- refrigerated sugar cookie dough, for 24 cookies (like Pillsbury, I used Schwann’s Sugar Cookie Dough, it’s rich, buttery and delish)
- cream cheese, softened
- granulated sugar
- vanilla extract
- whipped cream, like Cool Whip
- cherry pie filling
or you can substitute with blueberry or strawberry pie filling
How to Make Mini Cherry Cheesecake Sugar Cookie Cups
- Preheat oven according to package directions. Grease a mini muffin pan
or silicone mini muffin pan
lightly with non-stick cooking spray.
- Add 1 rounded tablespoon of cookie dough and roll into balls and add one to each muffin tin. Don’t mold it into the cups to make the bowl shape.
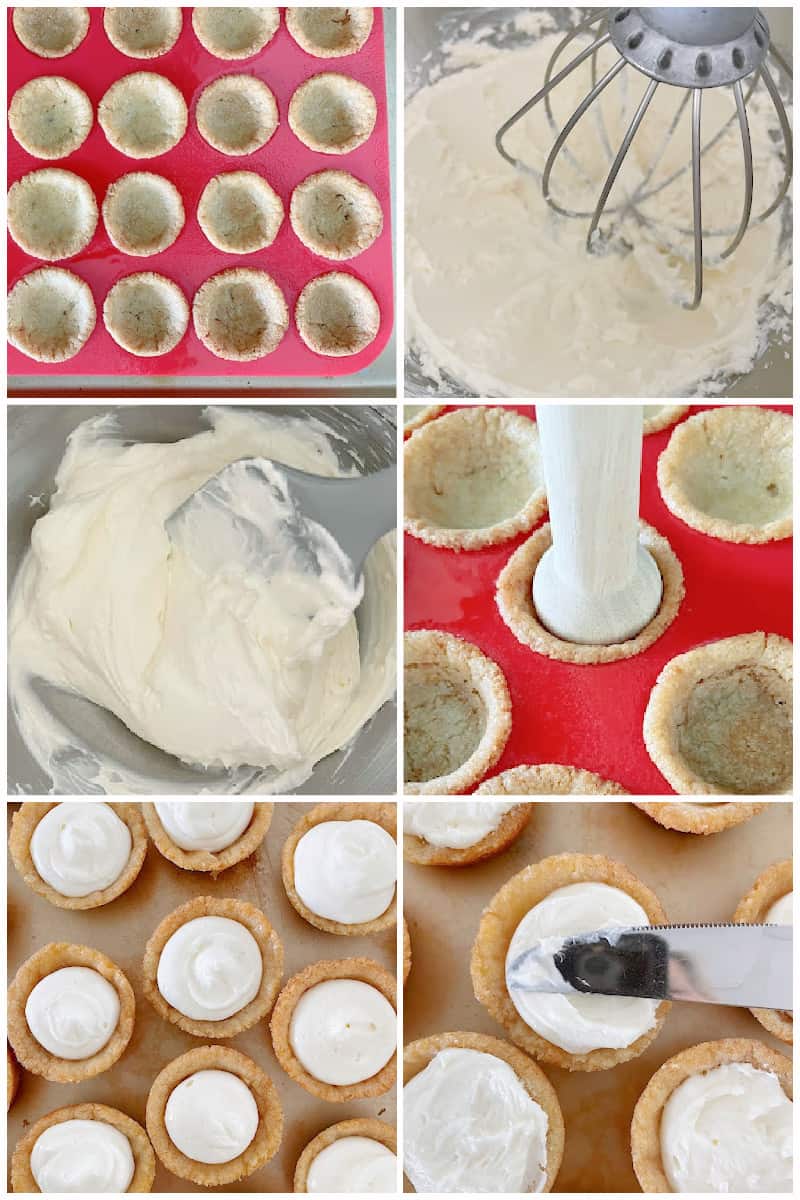
- Bake 8-10 minutes or until cookies are starting to slightly turn a golden brown without overbaking cookie cups. Depending on the cookie dough used may vary the baking time. Once baked, the center should sink immediately, if not, gently press center to create a cavity.
-
Allow to cool for 5-10 minutes. Transfer to a wire rack to cool completely. By using the silicone mini muffin pan, these were super easy to pop out, but if you’re using a metal mini muffin pan tin, use a knife around the edges to loosen, if they don’t come out easily and gently try inverting the pan and tapping the bottom to get them come out.
- While the cups are cooling, beat cream cheese until smooth.
- Add in the sugar and vanilla and beat for about 2-3 minutes until creamy.
- Fold in the whipped cream.
- Spoon cheesecake filling (or pipe it) into each cookie top.
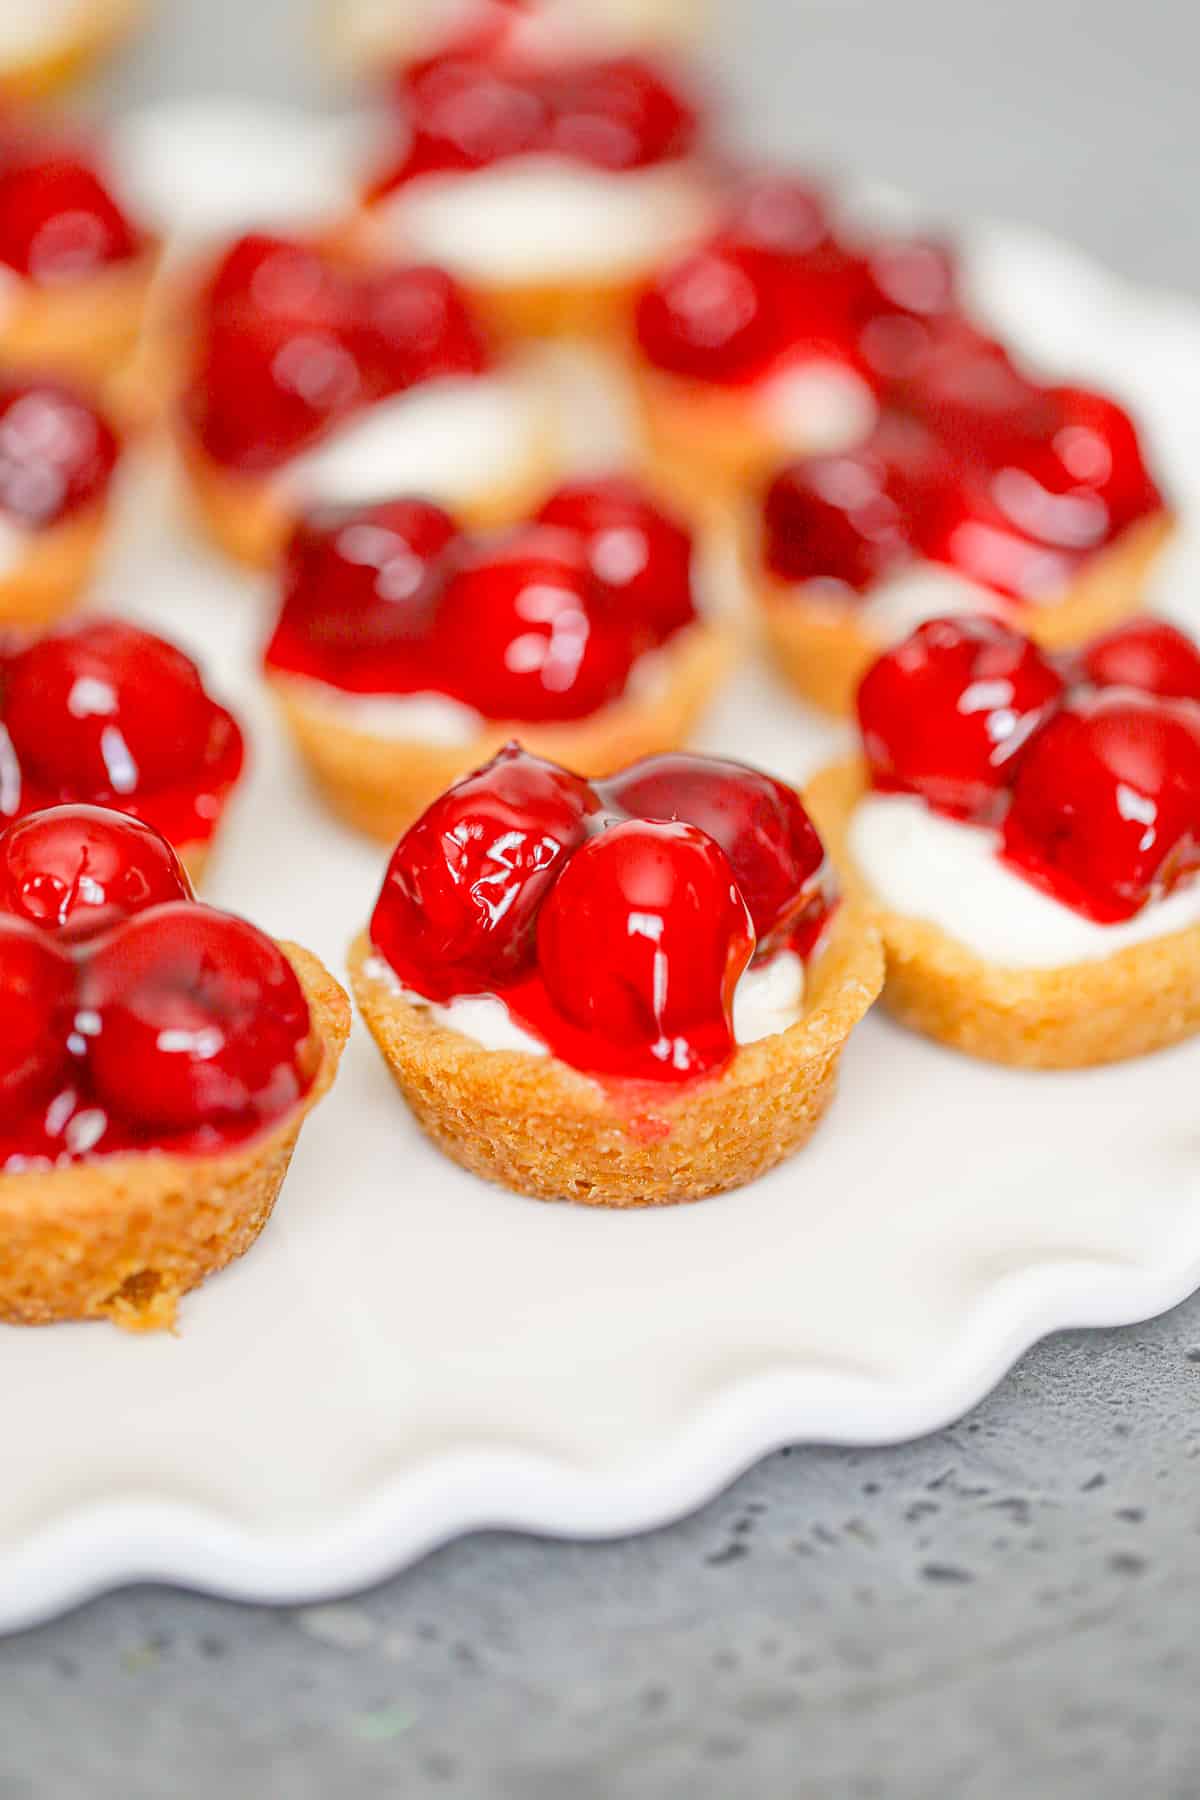
- Use a piping bag or spoon to fill cookie cups with cream cheese filling and top with cherry pie filling.
- Refrigerate until ready to serve. These are perfect for serving the same day or can be prepped a day or 2 before serving.
Cookie Cup Recipe Tips
- Don’t over bake the cookie cups! If you do they will be crispy-like and harder to chew. You want a soft and chewy cookie texture for these cups.
- Add 1 rounded tablespoon of cookie dough and roll into balls and add one to each muffin tin. Don’t mold it into the cups to make the bowl shape before baking. The centers should sink immediately, if not, gently press center to create a cavity with a spoon or shot glass.
- Time baking the cookie cups could vary depending on the cookie dough you use or if you are using your favorite homemade sugar cookie recipe. So set the timer for 8 minutes and monitor them closely after that to get a lightly golden texture without overbaking.
- Use softened cream cheese and mix it well before adding the rest of the filling ingredients, so the filling isn’t lumpy.
- To fill the cookie cups with the cheesecake, it’s best to fill a pastry bag or use a ziplock bag and cut a 1/2 inch hole and pipe the cream cheese filling into the cups. If you want to get fancy, you can use a large piping star tip.
- Depending on how many cherries you want to top these with, you may have to use a knife to smooth out the cheesecake filling on the tops to add more cherries.
- I added cherries one a time, so the cherry filling didn’t overflow the cups.
- You can have these treats within the hour easily or make them ahead of time for your event up to 2 days.
How to Store Cookie Cups
- You can store these mini cherry cheesecake sugar cookie cups in a sealed container in the fridge for up to five days.
- If storing cookie cups for longer than two days, store them without the cheesecake filling. Leaving the cheesecake filling inside your cookie cups for too long could result in soggy cookie cup bottoms.

In conclusion, this cherry cheesecake cookie cup recipe is a delicious ultra-indulgent treat that is easy to make and can be enjoyed by all. Not only are they tasty and fun to eat, but they’re also surprisingly easy to make.
With just a few simple ingredients, and just a few short steps, you can quickly whip up a batch of these delightful treats. They make a great snack or dessert for any occasion!
More Cherry or Cheesecake Delights
- Cherry Cheesecake Poke Cake
- Mini Cheesecakes
- Cherry Cream Cheese Coffee Cake
- Chocolate Cherry Oreo Dessert
- Cherry Vanilla Yogurt Muffins
- Easy No-Bake Berry Cheesecake Delight Dessert
- Cherry Chip Cookies
- Blueberry Lemon Bliss Cheesecake Bars
- Chocolate Football Peanut Butter Cookies
- Peanut Butter Chocolate Cherry Bars
Easy Cherry Cheesecake Cookie Cups
Ingredients
- 2 16.5 oz pkgs. refrigerated sugar cookie dough like Pillsbury
- 8 oz cream cheese softened
- ½ cup granulated sugar
- 1 teaspoon vanilla extract
- 1 cup whipped cream like Cool Whip
- 1 can cherry pie filling
Instructions
- Preheat oven according to package directions. Grease a mini muffin pan or silicone mini muffin pan lightly with non-stick cooking spray.
- Add 1 rounded tablespoon of cookie dough and roll into balls and add one to each muffin tin. Don't mold it into the cups to make the bowl shape.
- Bake 8-10 minutes or until cookies are starting to slightly turn a golden brown without overbaking cookie cups. Depending on the cookie dough used may vary the baking time. Once baked, the center should sink immediately, if not, gently press center to create a cavity.
- Allow to cool for 5-10 minutes. Transfer to a wire rack to cool completely. By using the silicone mini muffin pan, these were super easy to pop out, but if you're using a metal mini muffin pan tin, use a knife around the edges to loosen, if they don't come out easily and gently try inverting the pan and tapping the bottom to get them come out.
- While the cups are cooling, beat cream cheese until smooth.
- Add in the sugar and vanilla and beat for about 2-3 minutes until creamy.
- Fold in the whipped cream.
- Spoon cheesecake filling (or pipe it) into each cookie top.
- Use a piping bag or spoon to fill cookie cups with cream cheese filling and top with cherry pie filling.
- Refrigerate until ready to serve.

