Lunch Lady Peanut Butter Bars
As an Amazon Associate, I earn from qualifying purchases. Read the full disclosure here.
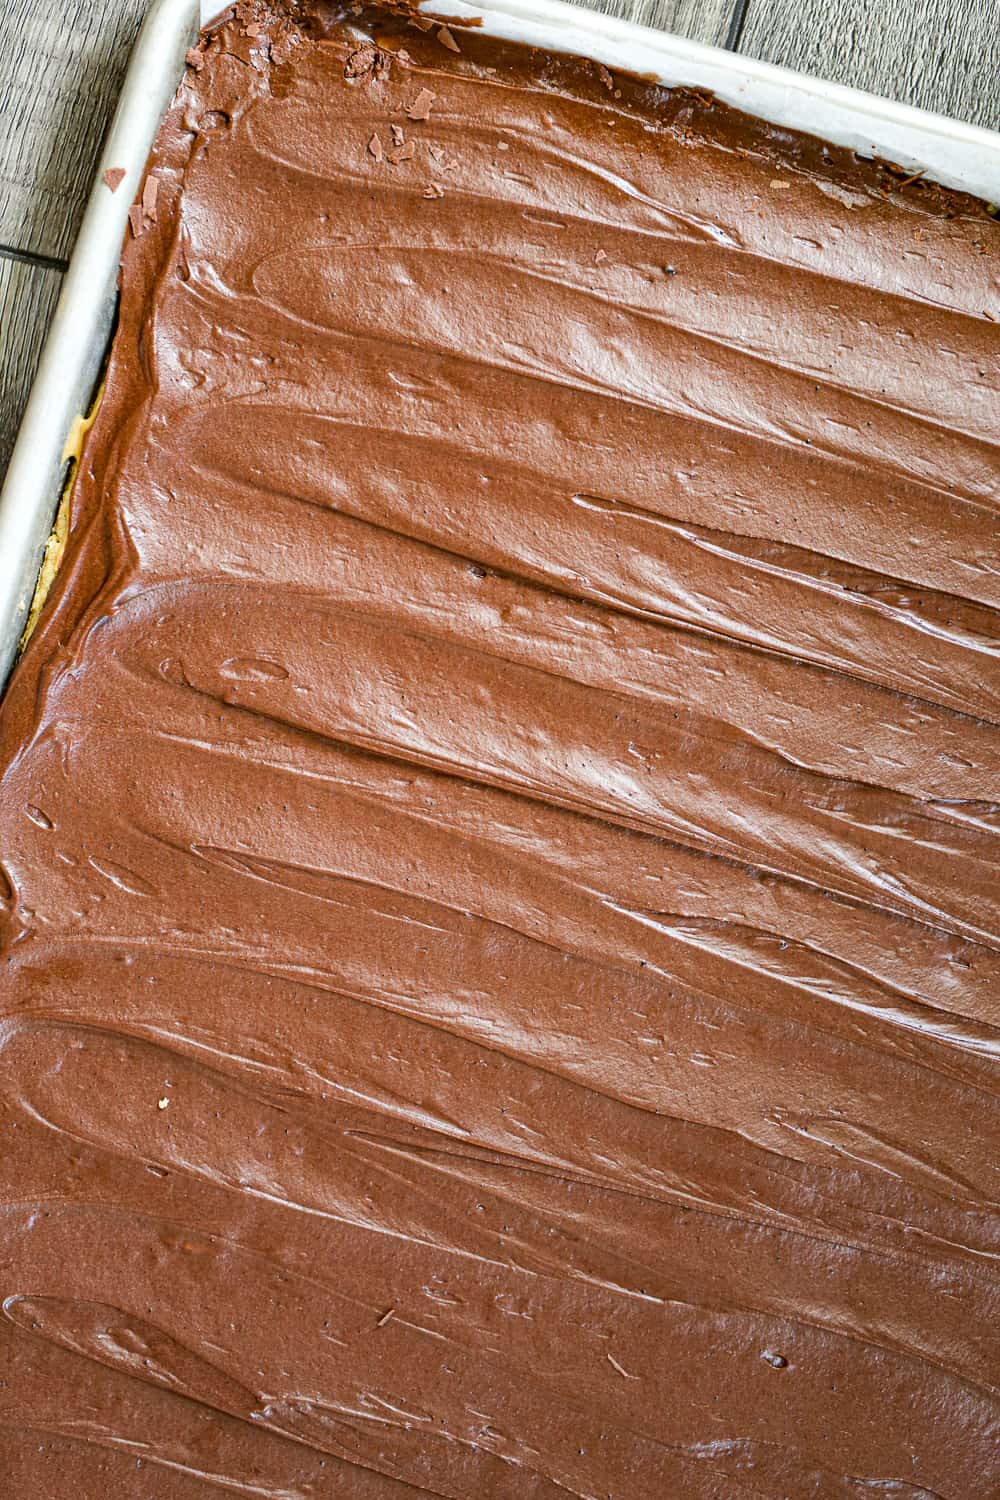
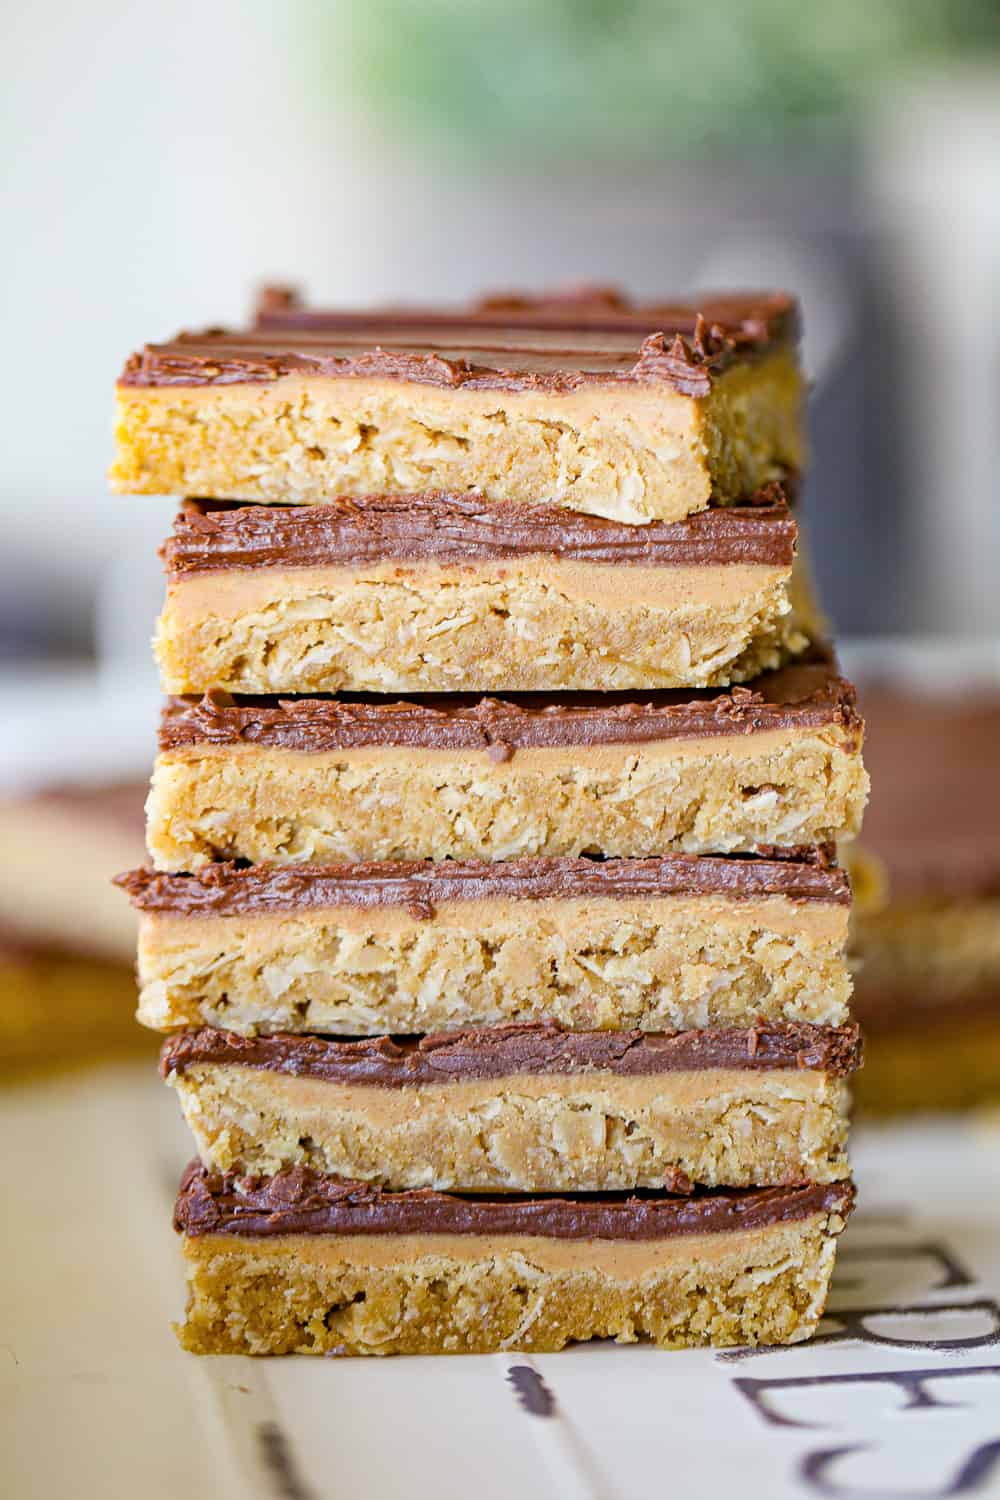
These layered Lunch Lady Peanut Butter Bars recipe starts with a soft, chewy peanut butter oatmeal cookie base, then it’s topped with a creamy peanut butter, followed with a yummy chocolate buttercream. A nostalgic school cafeteria treat everyone loves!
These addictive peanut butter bars are loaded with peanut butter and chocolate flavor and who can resist that, like these Ultimate Peanut Butter Cup Stuffed Chocolate Cookies and these Peanut Butter Cup Stuffed Krispie Treats!
WANT TO SAVE THIS RECIPE?
These are the best peanut butter bars of all time and became quite popular with the kids as one of the favorite cookie bars they used to serve in schools for lunches. Also perfect for bake sales, or any party or family gathering when you have a crowd attending and you want something amazing, yet simple to make.
These are super delish for Halloween and you could easily add some Halloween sprinkles or candies on top to make ’em pop with fun!
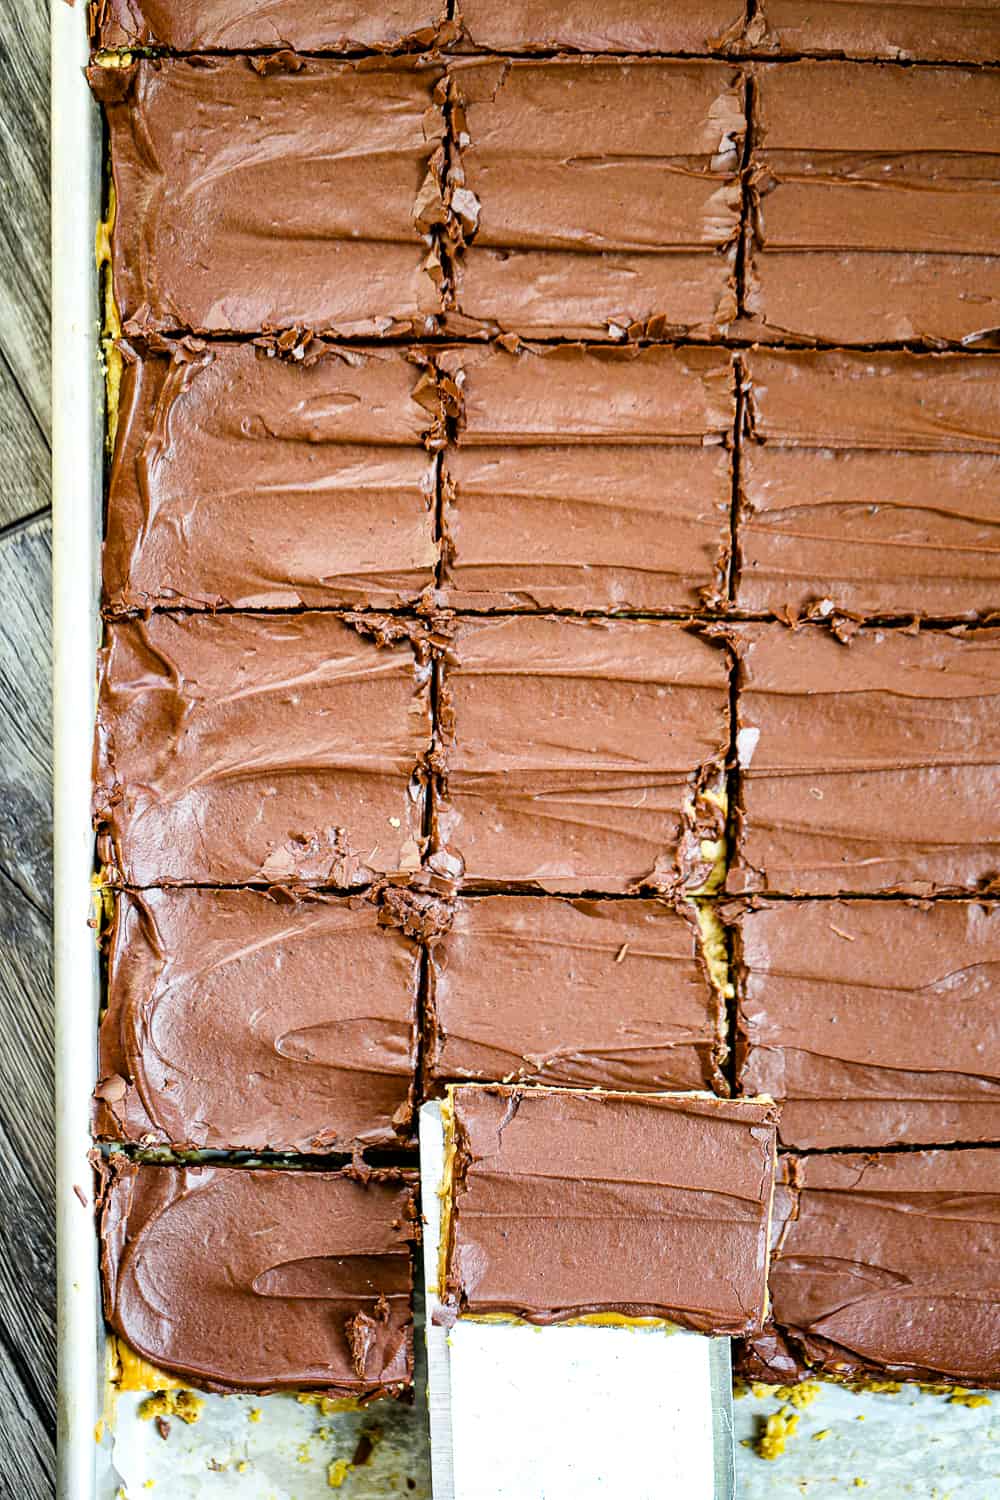
This magical peanut butter bar recipe is simple to make and it definitely feeds a crowd easily, without a lot of fuss on your part. Plus, you can’t go wrong with peanut butter and chocolate! Bring it on! These peanut butter cookie bars are rich and decadent because you get the best of both worlds full of sweet and salty peanut butter flavor!
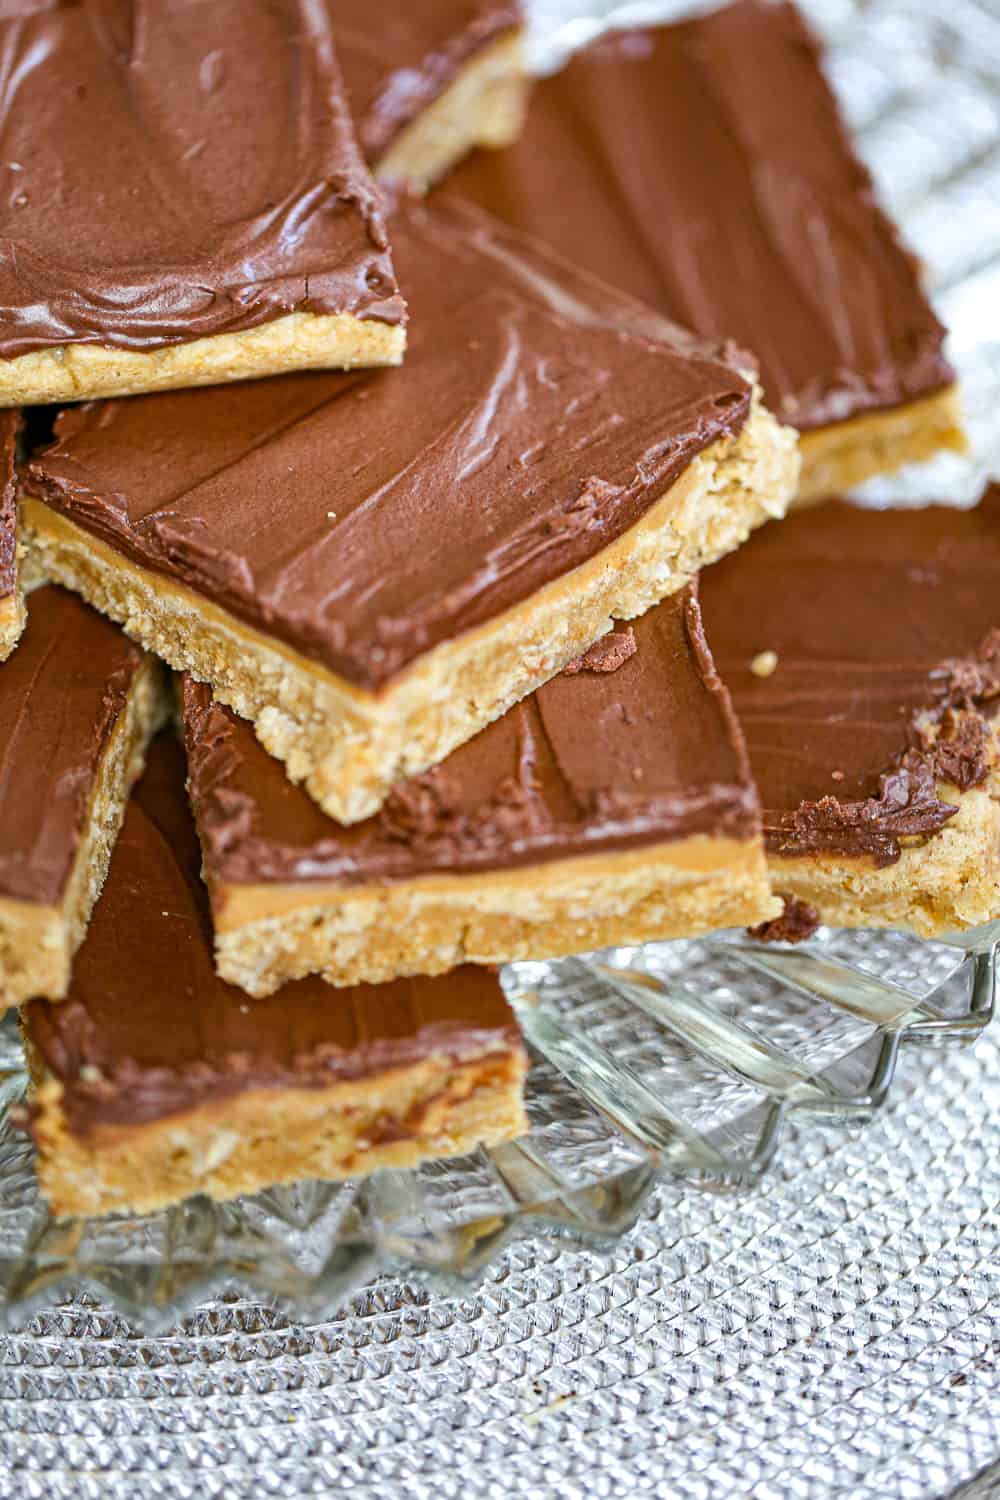
These bars practically melt in your mouth, but when you add the chocolate frosting, these bars are completely amazing! You’ll want to hoard a few while you can, before they all disappear!
Pan Sizes for Lunch Lady Peanut Butter Bars
Before you start, what size pan do you want to use? Do you have a special event or party or a small family gathering you want to make these delicious treats for?
Large Cookie Sheet Size: Our lunch lady peanut butter bar recipe is baked in an 18×13 sheet pan or half pan so you can cut them into as many bars as you need. I like the bigger bars, which makes 24 bars, but you could easily cut them into 48 bars for smaller servings.
Small Cookie Sheet Size: Want to bake these in a 9×13 pan for a smaller batch? You can divide the recipe in half easily for this size of pan to get 12 nice-sized bars. Another option is to make the whole recipe and divide in two 9×13 pans. That way you can freeze one of the pan batches to serve later when the peanut butter chocolate craving strikes.
These bars also freeze great in a freezer bag or freezer container, so by making a big batch, you can pull them out of the freezer as needed. Just let them thaw in the fridge and then serve them the next day or snack on them as you see fit!
Ingredients You Need
Peanut Butter Bars
- butter, softened
- granulated sugar
- brown sugar
- vanilla extract
- eggs
- peanut butter
- old fashioned oats
all-purpose flour
- baking soda
- salt
Chocolate Buttercream Frosting
- butter, softened
- milk of choice
- vanilla extract
- unsweetened cocoa powder
- powdered sugar
Instructions How to Make Lunch Lady Peanut Butter Bars Recipe
Lunch Lady Peanut Butter Bars
- Preheat oven to 350 degrees F. Spray or line a baking sheet (half sheet jelly roll pan that is 13×18) with parchment paper/non-stick cooking spray OR 2 9×13 pans can also be used. Divide recipe in half for one 9×13 pan of bars for smaller batch.
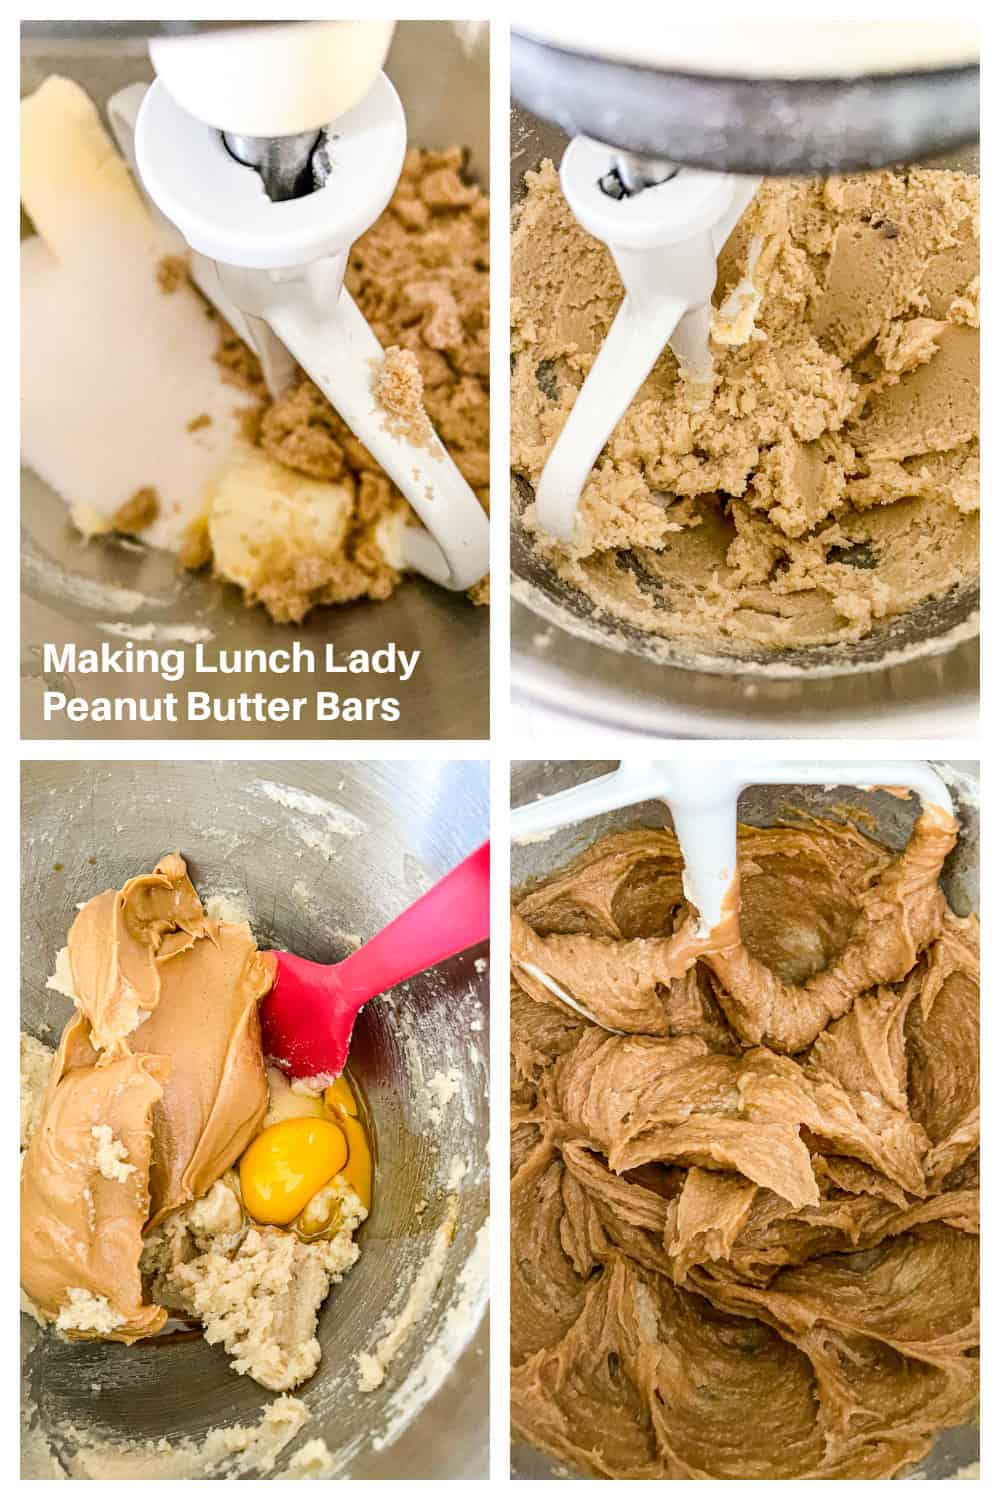
- In a large bowl, using mixer, cream together softened butter, sugar and brown sugar together for 2-3 minutes.
- Add vanilla, eggs, and 1 cup of the peanut butter and mix together well.
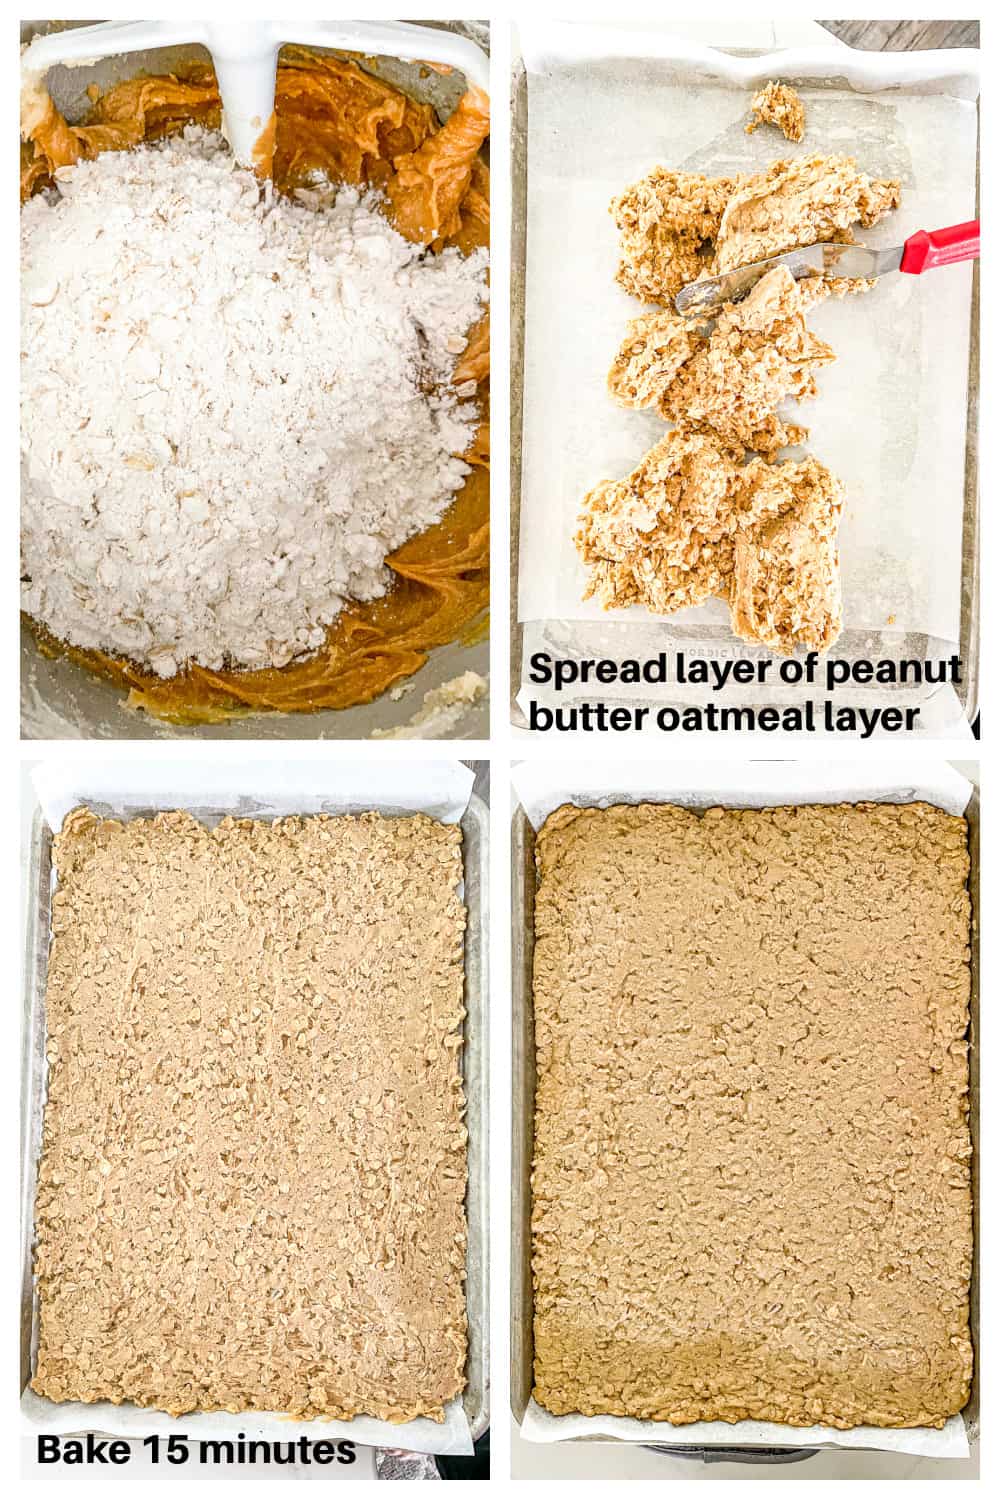
- Add oats, flour, baking soda and salt and mix everything together until well combined.
- Pour batter and spread mixture out in an even layer in your prepared pan.
- Bake for 15 minutes and remove from oven.
Peanut Butter Layer
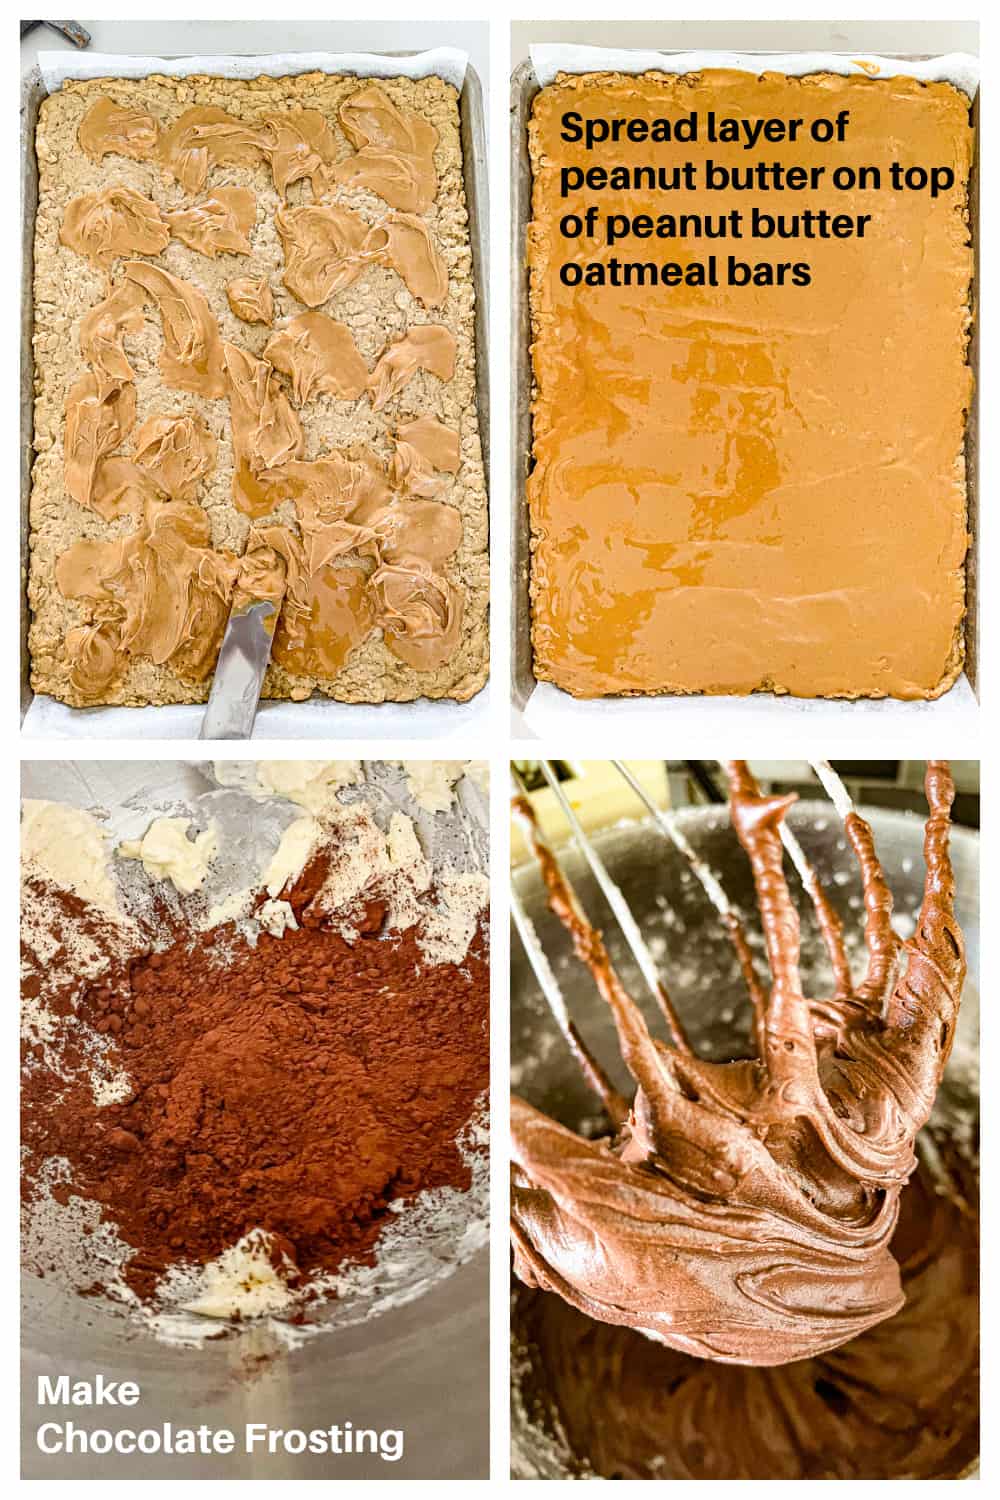
- Drop small spoonfuls of peanut butter (1 ½ cups) all over on top of warm bars. Let peanut butter set for about 5-6 minutes and gently spread when peanut butter has begun to melt for easy spreading the layer of peanut butter. Don’t try to spread it while still thick.
- Let the bars cool until peanut butter has set up. For faster results, put pan in fridge to help peanut butter layer set up firmly.
Chocolate Buttercream Frosting
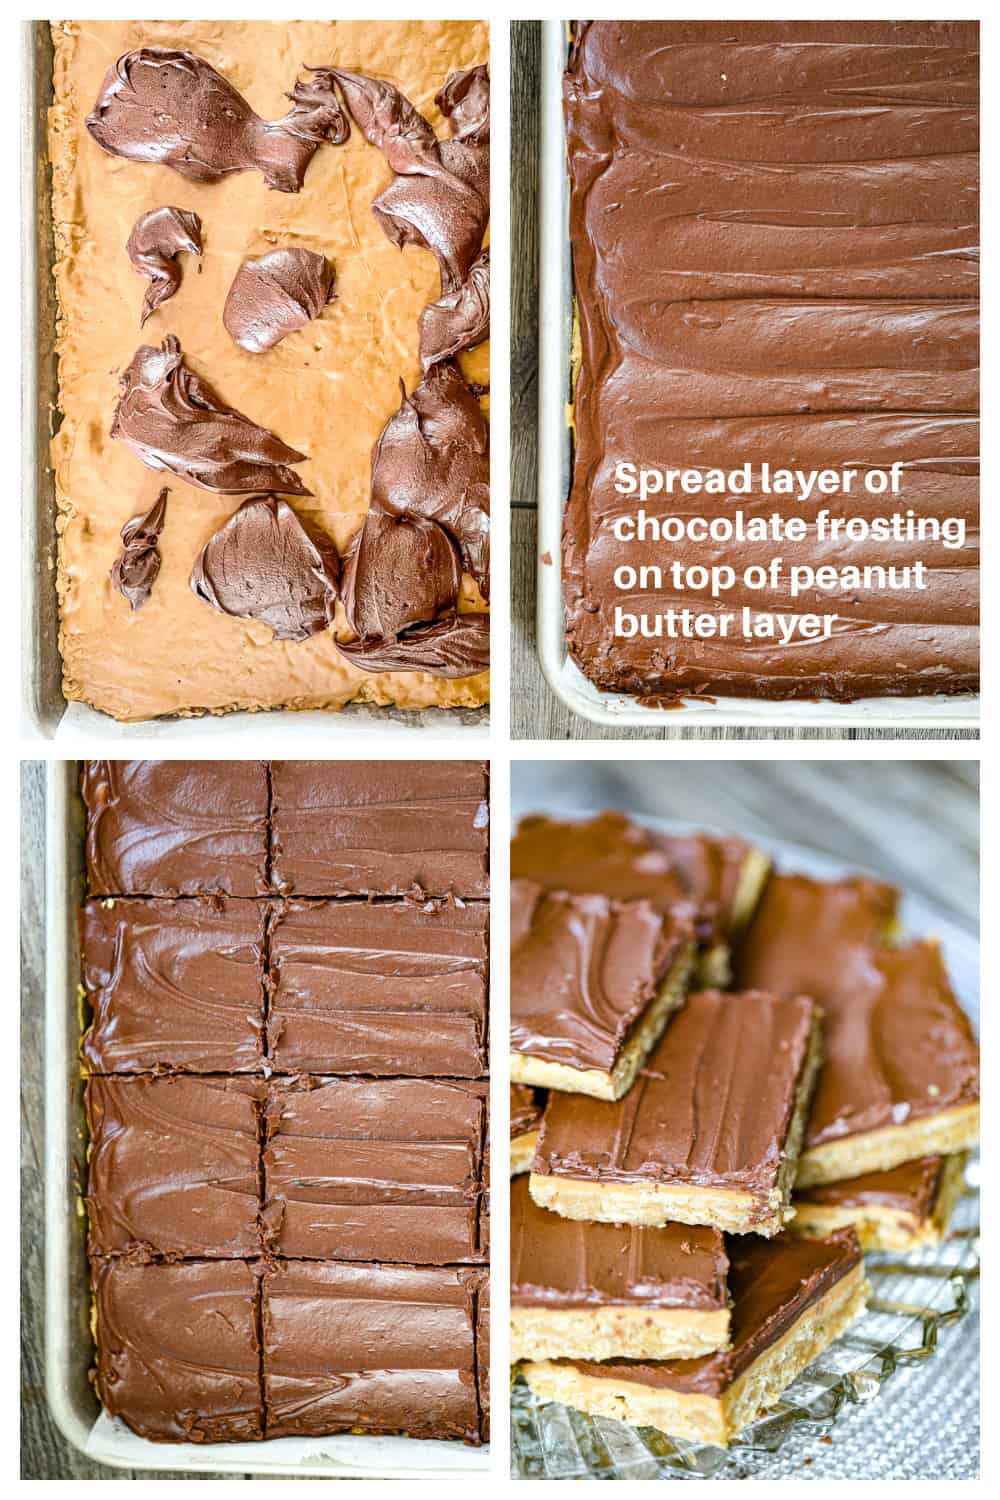
- While cooling, mix together butter, chocolate, vanilla, powdered sugar and milk with a hand mixer until smooth and spread on top of bars. Place bars in fridge to help chocolate layer set up.
- Cut into bars and serve.
 Storing Bars
- And, if you are lucky enough to have any bars left, store any leftovers in an airtight container. I like to store the bars in the fridge, but you can also store them at room temperature as well.
Lunch Lady Peanut Butter Bar Options
- Oats – You can use quick or instant oats if you do not have old-fashioned. Old fashioned oats will result in a chewier cookie bar and quick oats will result in a softer cookie bar.
- Peanut butter options, to reduce sugar, you can use something like Jif or Skippy no sugar added peanut butter. I love to use these types of peanut butters when I’m baking. They are still sweet and creamy, just less sugar. Whatever peanut butter you use, just make sure it’s creamy and is meltable.
- Soften the peanut butter in the microwave for spreading on top of bars for middle layer if peanut butter is quite thick and stiff.
- Want these gluten free? Just make sure to use gluten free oats, it’s that easy!
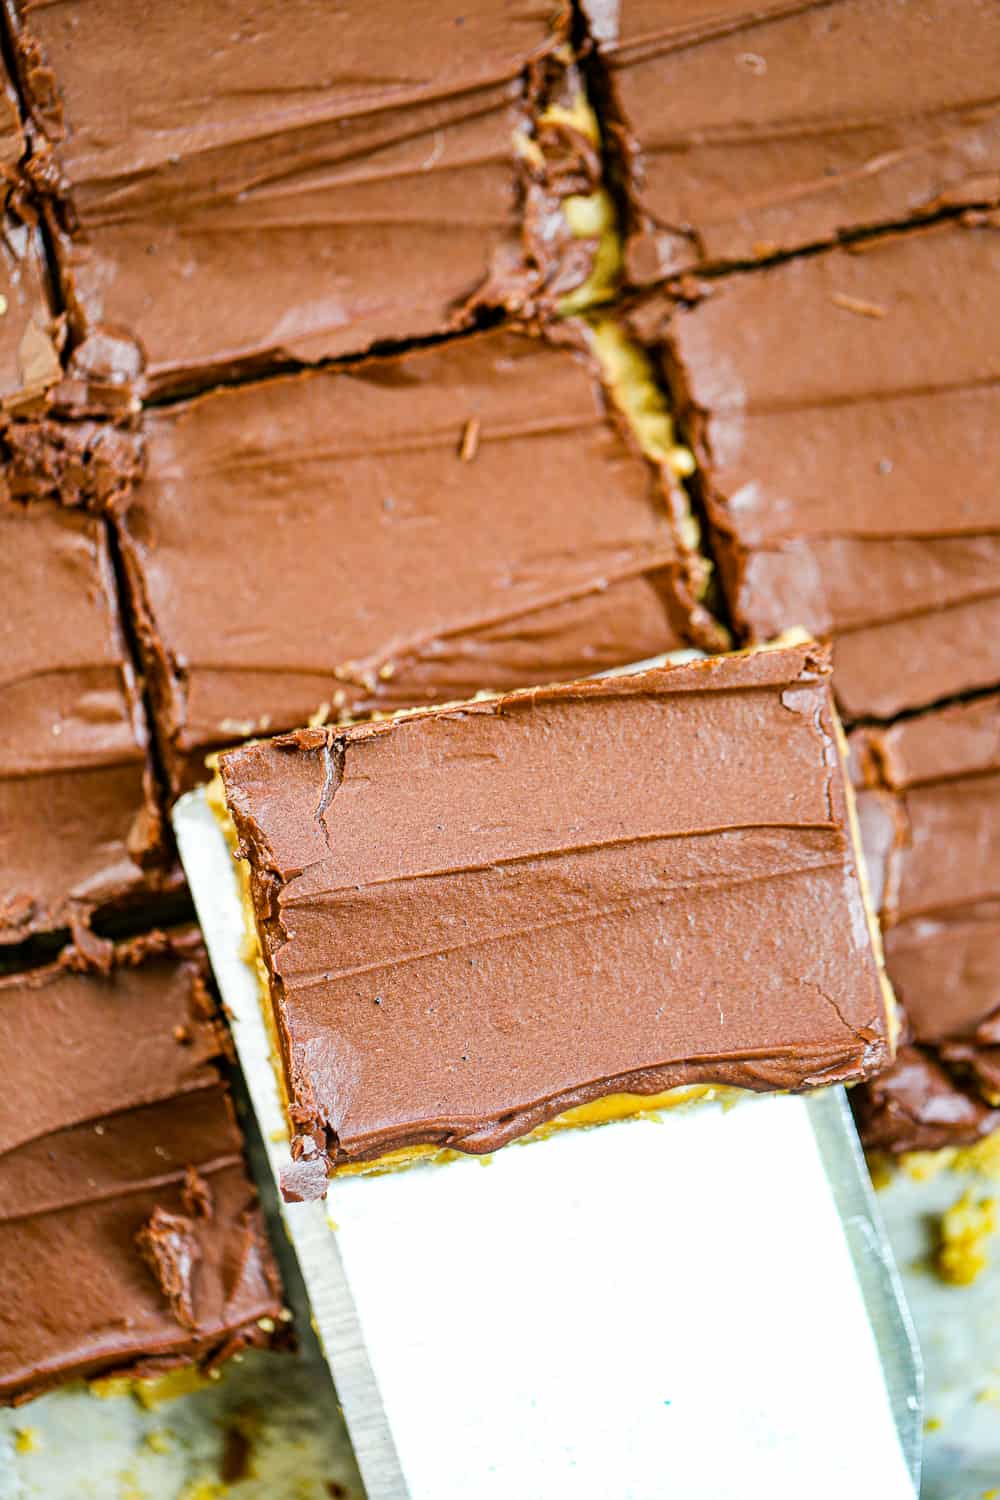
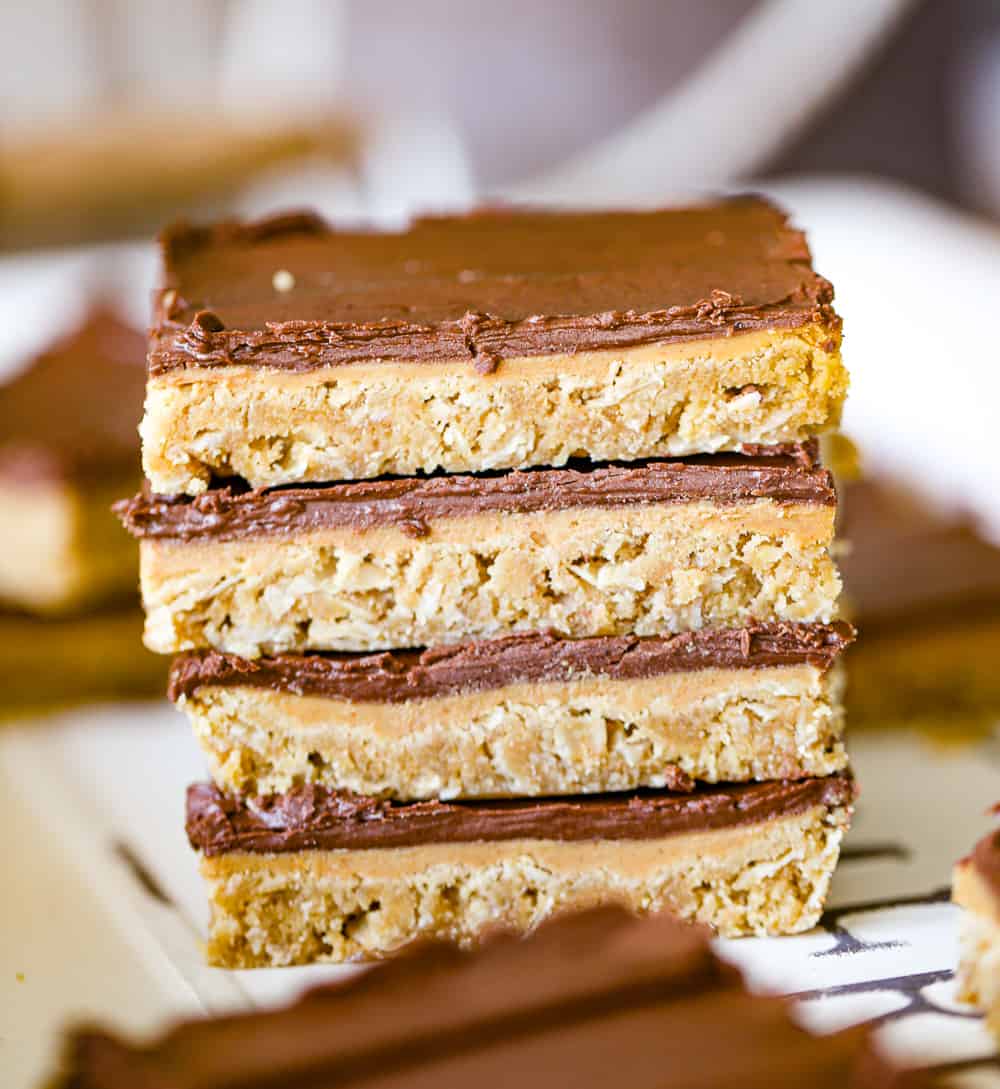
These lunch lady oatmeal peanut butter bars will definitely be a hit at any event! You’ll want to keep this lunch lady peanut butter bars recipe for your recipe file for sure!
More Fun Treats!
- Lunch Lady Brownies
- Healthy No Bake Chocolate Oat Bites
- White Chocolate Peanut Butter Bars
- ‘Thick ‘n Fudgy’ Chocolate Explosion Cookies
- Healthy Chocolate Chip Cookie Dough Balls – GF option
- Delish Chocolate Chip Peanut Butter Oatmeal Bars
- Extreme Peanut Butter Cookies
- Healthy Peanut Butter Crunch Bars
Lunch Lady Peanut Butter Bars
Ingredients
Lunch Lady Peanut Butter Bars
- 1 cup butter softened
- 1 cup granulated sugar
- 1 cup brown sugar firmly packed
- 1 teaspoon vanilla extract
- 2 large eggs
- 1 cup creamy peanut butter
- 2 cups old fashioned oats for gluten free option, use gluten free oats
- 2 cups all-purpose flour
- 1 teaspoon baking soda
- 1 teaspoon salt
Peanut Butter Layer
- 1 ½ cups creamy peanut butter
Chocolate Buttercream Frosting
- ½ cup butter softened
- ¼ cup milk of choice
- 2 teaspoons vanilla
- 4 Tablespoons cocoa powder
- 3 cups powdered sugar
Instructions
Lunch Lady Peanut Butter Bars
- Preheat oven to 350 degrees F. Spray or line a baking sheet (half sheet jelly roll pan that is approximately 17.8 x 12.8 x 1 inch) with parchment paper/non-stick cooking spray OR 2 9x13 pans can also be used. Divide recipe in half for one 9x13 pan of bars.
- In a large bowl, using mixer, cream together softened butter, sugar and brown sugar together for 2-3 minutes.
- Add vanilla, eggs, and 1 cup of the peanut butter and mix together well.
- Add oats, flour, baking soda and salt and mix until well combined.
- Spread mixture out in an even layer.
- Bake for 15 minutes and remove from oven.
Peanut Butter Layer
- Drop small spoonfuls of peanut butter (1 ½ cups) all over on top of warm bars. Let peanut butter set for about 5-6 minutes and gently spread when peanut butter has begun to melt for easy spreading the layer of peanut butter. Don't try to spread it while still thick.
- Let the bars cool until peanut butter has set up. For faster results, put pan in fridge to help peanut butter layer set up firmly.
Chocolate Buttercream Frosting
- While cooling, mix together butter, chocolate, vanilla, powdered sugar and milk with a hand mixer until smooth and spread on top of bars. Place bars in fridge to help chocolate layer set up.
- Cut into bars and serve.
Notes
Pan Sizes for Lunch Lady Peanut Butter Bars
Before you start, what size pan do you want to use?- Our lunch lady peanut butter bar recipe is baked in an 18 x 13 sheet pan
or half pan so you can cut them into as many bars as you need. I like the bigger bars, which makes 24 bars, but you could easily cut them into 48 bars for smaller servings.
- Want to bake these in a 9x13 pan
for a smaller batch? You can divide the recipe in half easily for this size of pan to get 12 nice-sized bars. Another option is to make the whole recipe and divide in two 9x13 pans. That way you can freeze one of the pan batches to serve later when the peanut butter chocolate craving strikes.
- These bars also freeze great in a freezer bag or freezer container, so by making a big batch, you can pull them out of the freezer as needed. Just let them thaw in the fridge and then serve them the next day or snack on them as you see fit!

