Mini Red Velvet Brownies
As an Amazon Associate, I earn from qualifying purchases. Read the full disclosure here.
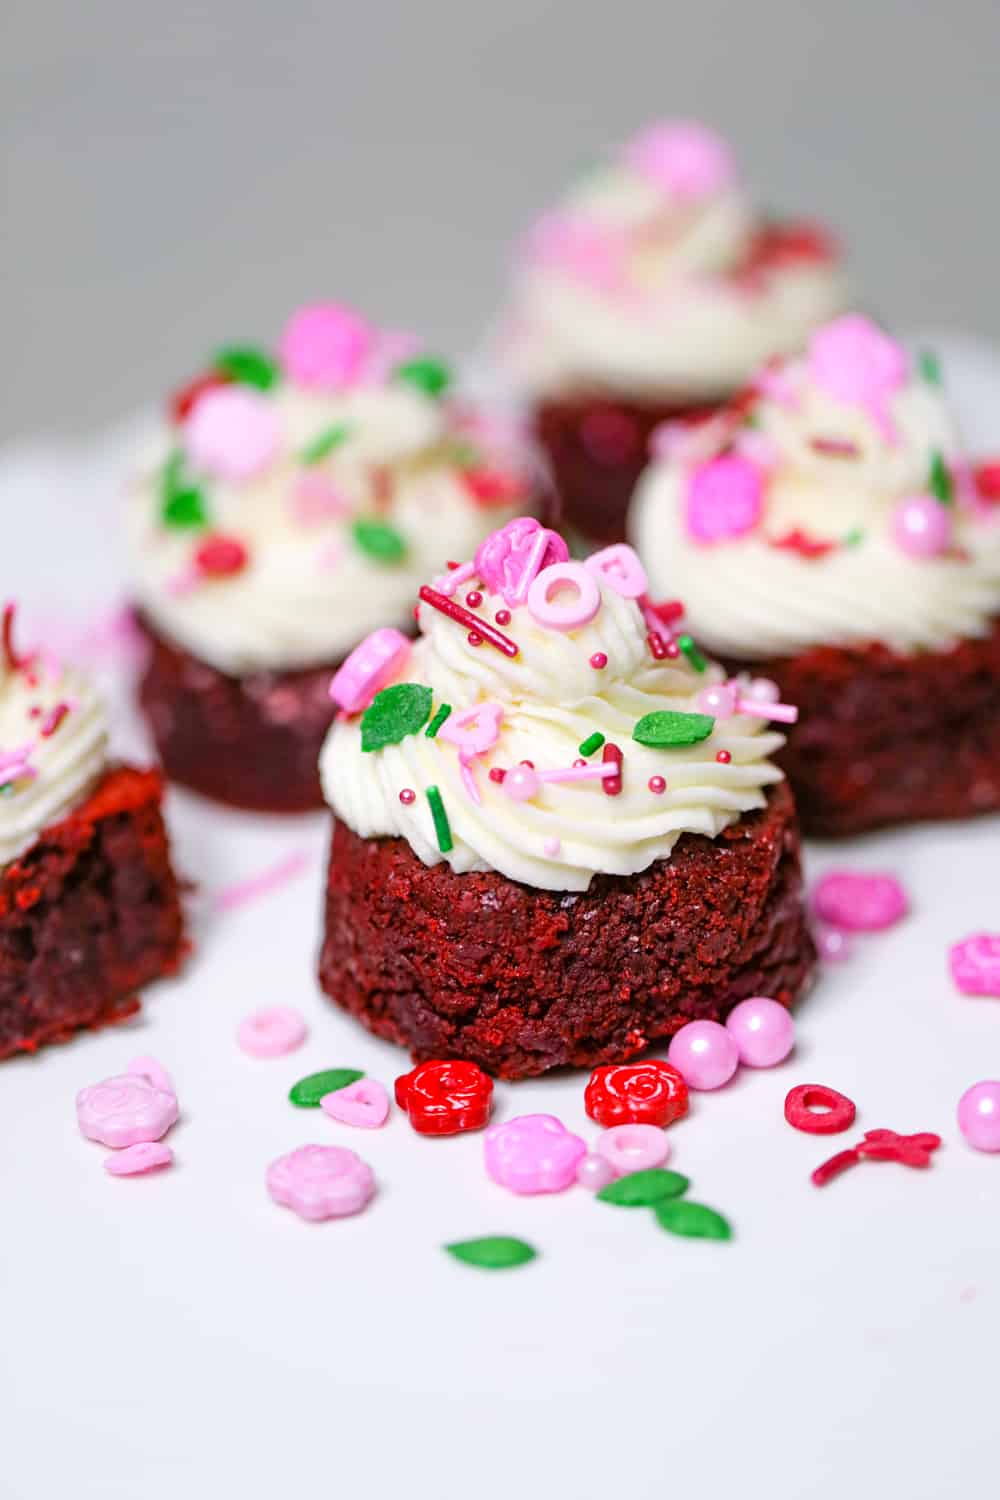
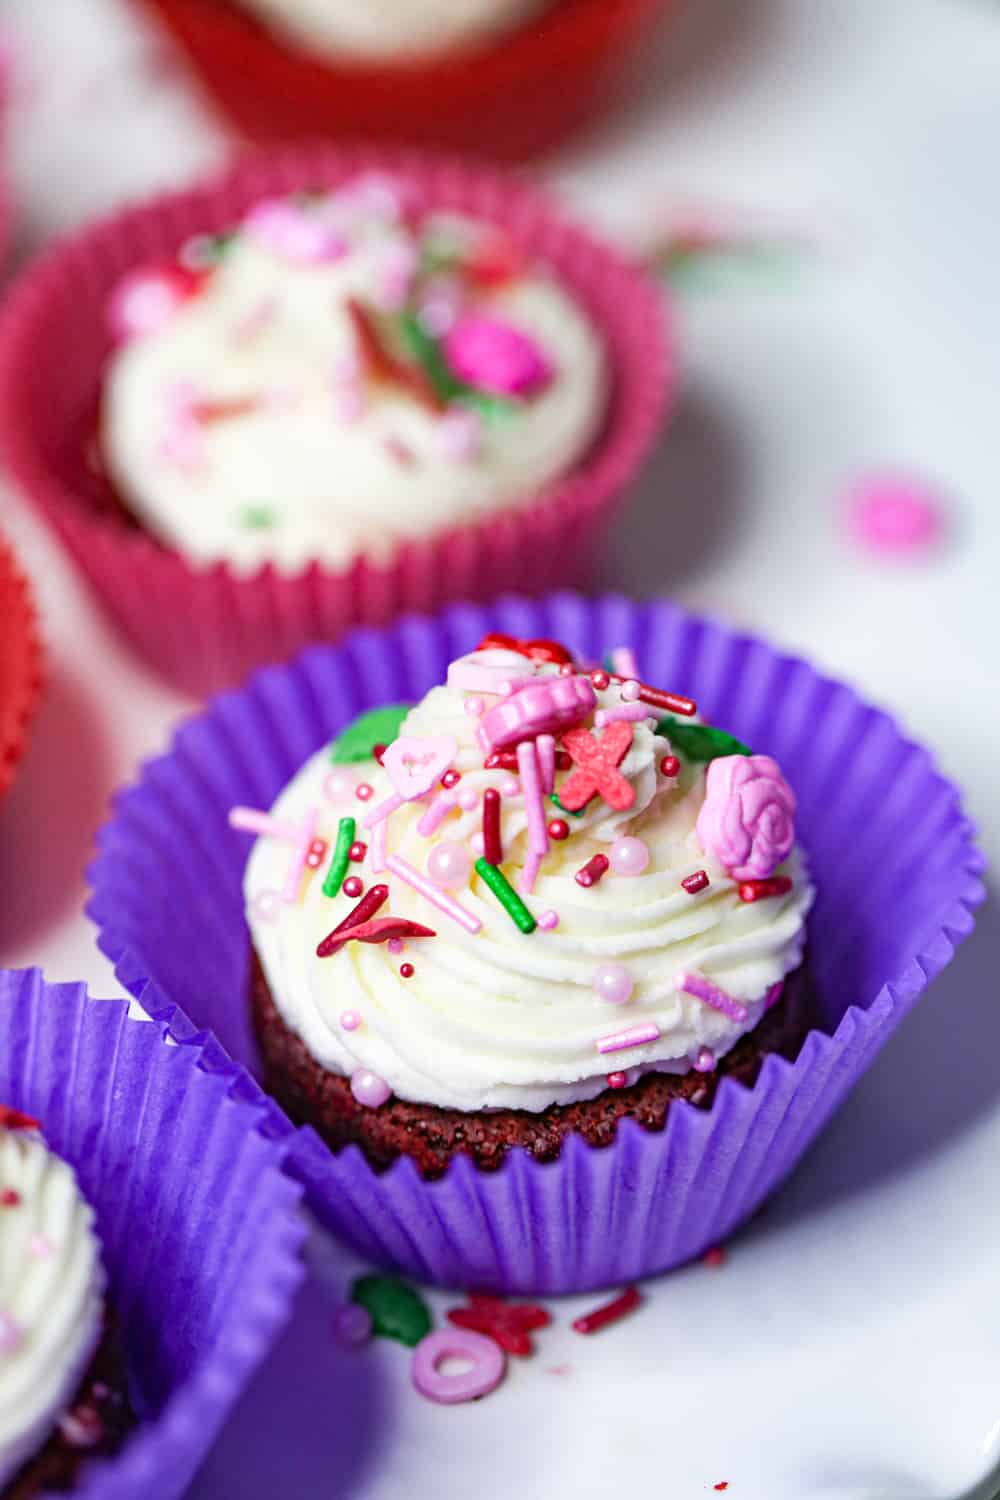
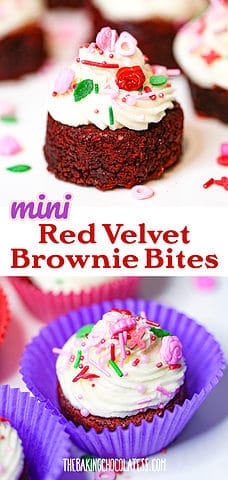
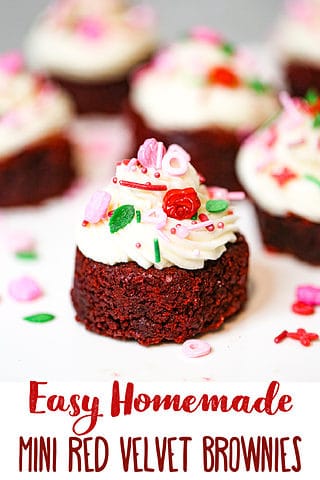
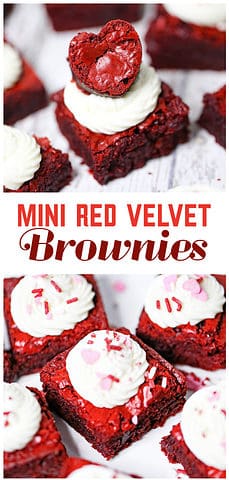
These rich, decadent Mini Red Velvet Brownies are all decked out with a lovely, creamy vanilla cream cheese frosting and they taste amazing! This recipe is perfect for parties when you want mini desserts or treats!
Made with tons of love, these are a Valentine’s Day sweet treat sure to get some attention! Brownies always do, especially when they’re homemade red velvet brownie bites! Check out these 25 Drool-Worthy Red Velvet Dessert Recipes for more red velvet dessert ideas!
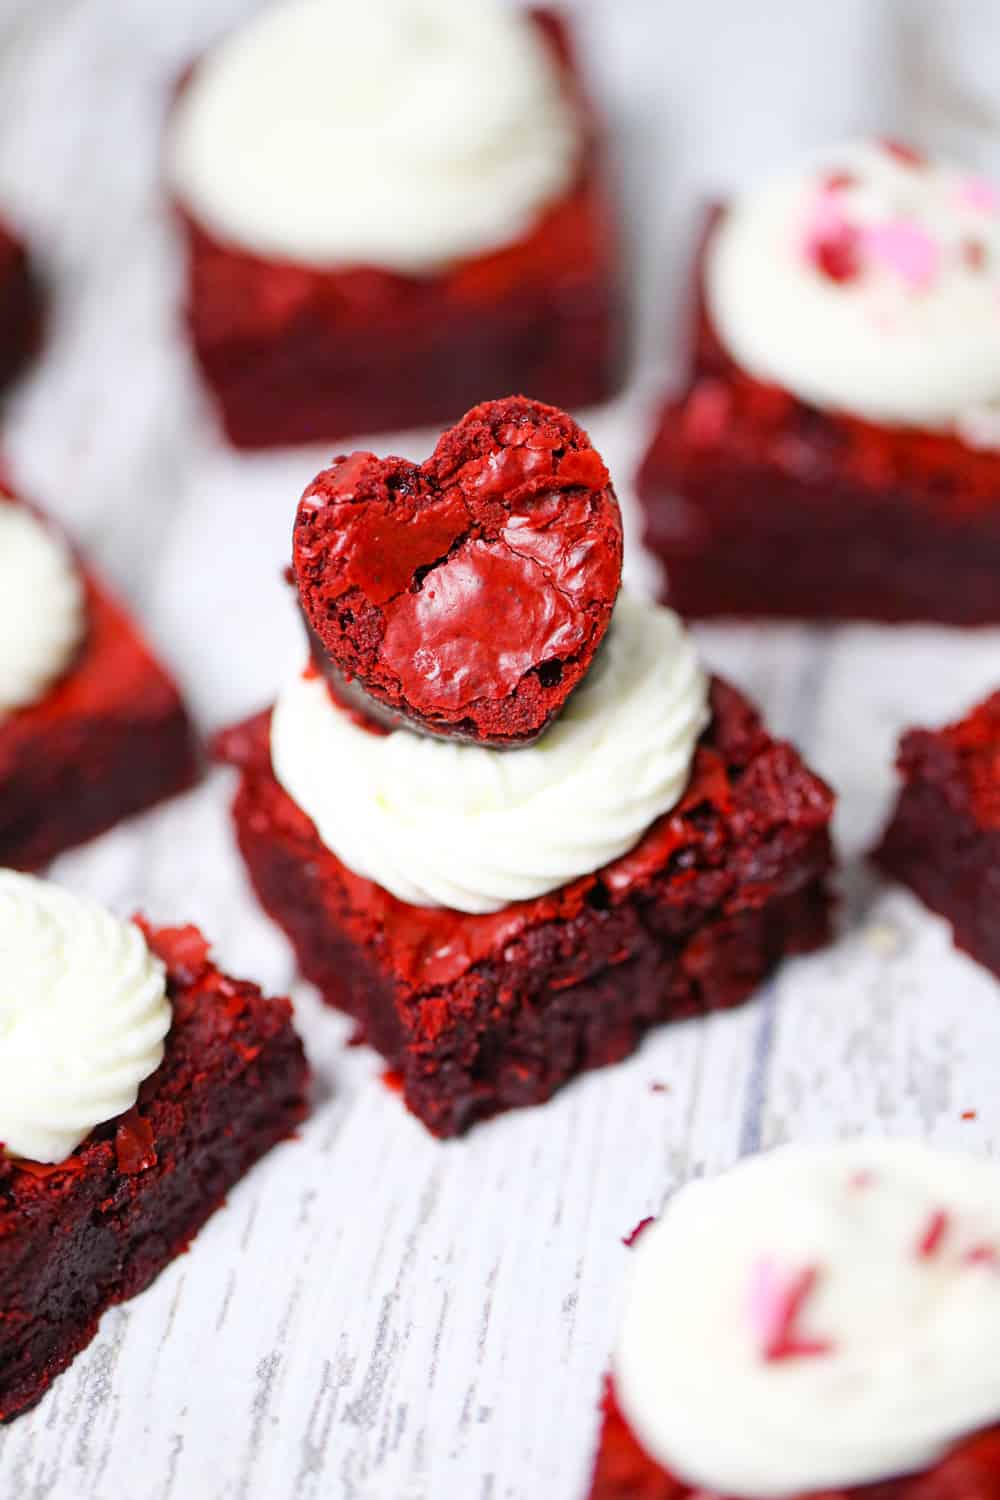
What is it about ‘Red Velvet‘ that gets people excited?? It sounds sexy for sure! These Mini Red Velvet Brownies with Vanilla Cream Cheese Frosting are rockin the RED’ and I think they DO look sexy! That red color is romantic and perfect when you want to impress anyone and everyone!
They’re soft and fudgy, with the awesome flavor you’d get from a traditional red velvet cake.
These brownies taste great on their own, but the vanilla cream cheese frosting puts them in a league of their own. These minis are perfect and the best red velvet brownie bites ever!
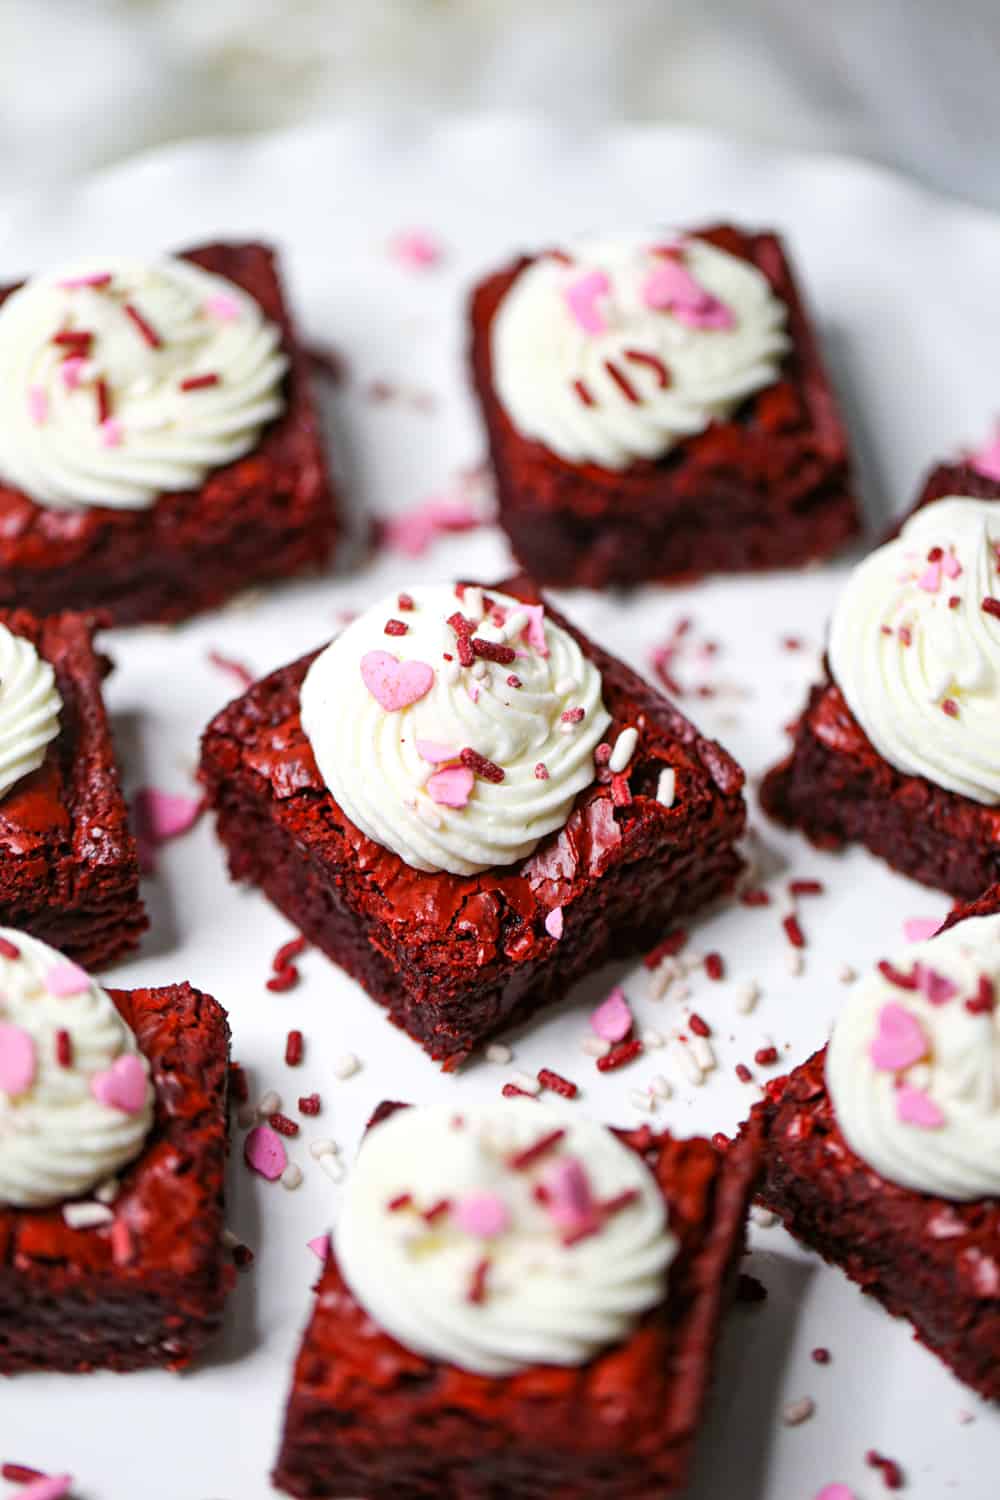
Did you know the most popular red velvet desserts have chocolate in them and are usually adorned with cream cheese frosting?
The cocoa overtones and and the tang of the cream cheese are a match made in heaven. They are never breaking up! EVER! right?
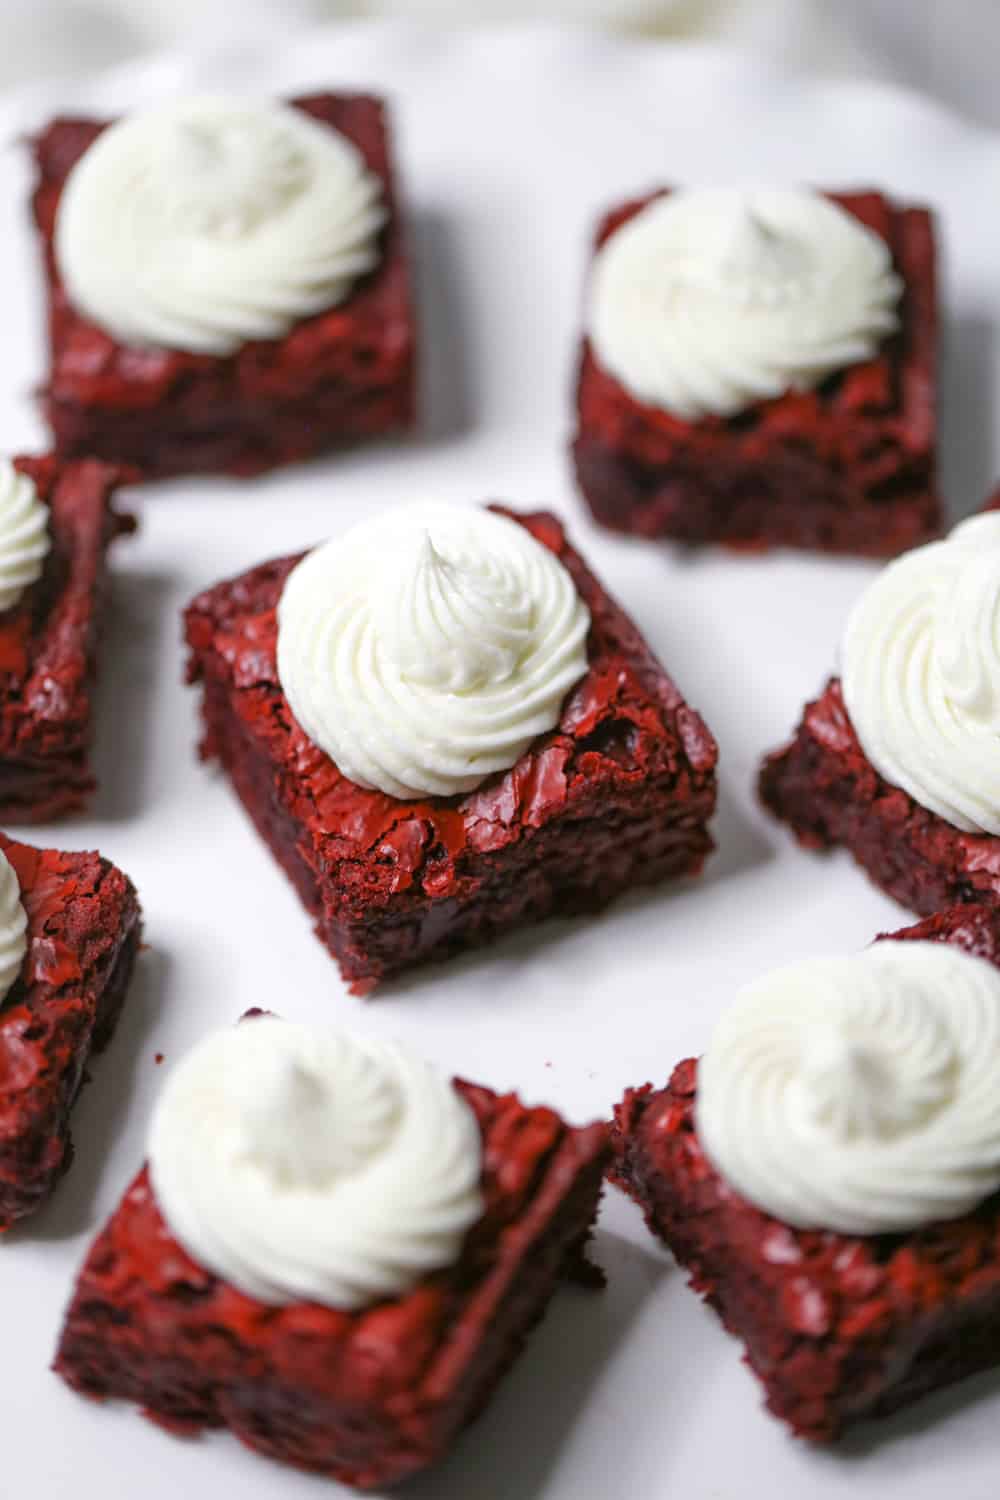
How To Get The Red Velvet Color
Making homemade red velvet brownies can seem pretty intimidating just because the name ‘red velvet. But this recipe is basically just baking brownies, except we’re adding red food coloring, basically. That’s how they get that robust, stunning red color!
I like using the food coloring gel versus red food coloring, because you don’t have to use as much to get that vibrant red color, but you do have to use a tablespoon for this red velvet brownie recipe for a 9×13 baking pan. But,if you’re worried about non-toxic and safe food coloring gel
, it is available!
And, since Valentine’s Day is all about red and pink, if you love pink, try these Pink Velvet Lofthouse Swig Cookies or these Best Soft Lofthouse Cookies!
Ingredients You Need
Red Velvet Brownies Recipe
- unsalted butter
- Ghirardelli Milk Chocolate Chips
- eggs
- granulated sugar
- brown sugar
- salt
- vanilla extract
- red food coloring
- all purpose flour
- baking powder
- Ghirardelli unsweetened cocoa powder
Vanilla Bean Cream Cheese Frosting
- cream cheese
- unsalted butter
- salt
- vanilla extract
- confectioners sugar, pure vanilla extract or vanilla bean paste, I used Nielsen-Massey
How to Make Red Velvet Brownie Bites
- Preheat oven to 350 degrees.
- Line an 8×8 baking pan with heavy-duty foil and very lightly grease. (You could also use a mini muffin pan as well, but I don’t know the yield.)
Red Velvet Brownies
- In a small saucepan, melt the butter over your lowest setting, then add the milk chocolate chips stirring constantly with a small whisk until melted and smooth.
- Turn off heat and let set.
- In a large mixing bowl, add the eggs into the bowl and lightly whisk.
- Add in the brown sugar, granulated sugar and salt and whisk it all together.
- Whisk in the melted chocolate into the egg/sugar mixture until just combined.
- Add in the vanilla and red food coloring.
- Stir in the flour, baking powder, salt and cocoa powder and mix well until there are no more flour streaks. I like to use a spatula or wooden spoon.
- Spread out evenly into your prepared baking pan.
- Bake 35-40 minutes, until toothpick comes out clean and transfer pan to cooling rack and let cool for 15 minutes.
- Refrigerate, covered until cooled to frost.
- Lay out on tin foil or cutting board and cut into 16 or 25 squares evenly using a sharp knife. You could also cut these a diamond shape or also use a small cookie cutter for round brownies and a heart-shaped cookie cutter for heart brownies! Or a combination!
- Make frosting.
Vanilla Bean Cream Cheese Frosting
- Place cream cheese, butter, vanilla, salt, confectioner’s sugar and cream/milk in mixing bowl. Using a mixer, beat on medium high until well combined. Mix until smooth and creamy.
- Place frosting in a pastry bag with a pastry open or closed star tube and pipe a star in the middle, then pipe frosting around the star to create a rose.
- Add sprinkles, chocolate shavings, etc.
- Put back in fridge until ready to serve.
Mini Red Velvet Brownie Tips
- I prefer to trim the brownies edges to get nice looking edges on all the brownies, before I cut them into mini brownies. It’s best do to this when the brownies are refrigerated to get a nice looking cut.
- Don’t overbake the brownies. Overbaked brownies result in dry brownies.
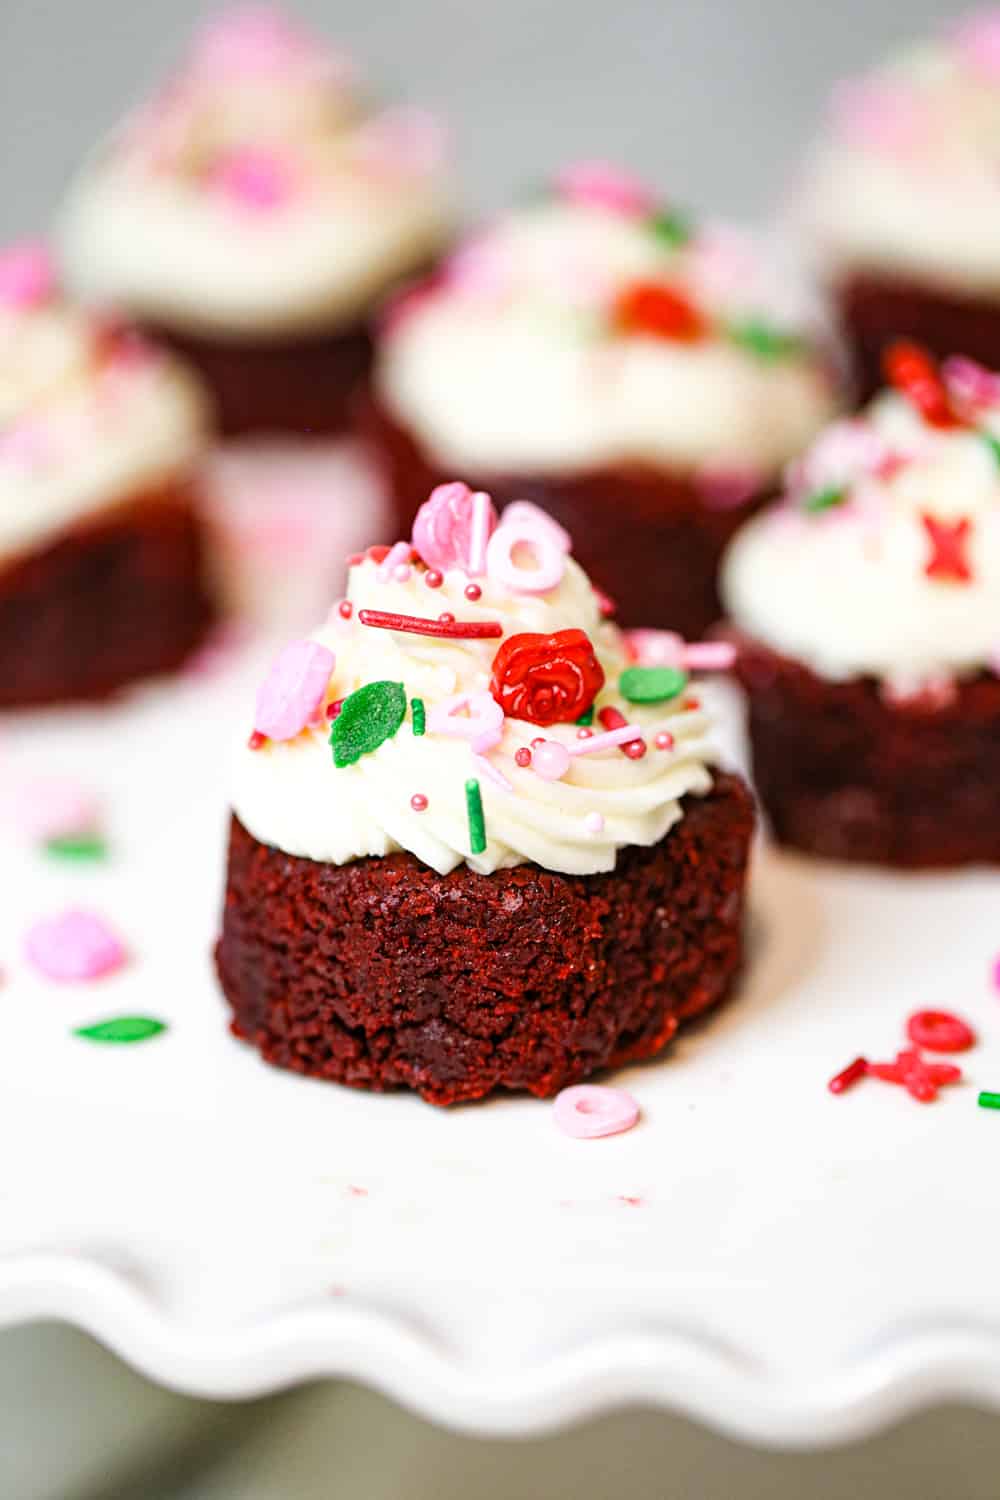
How tempting do these mini red velvet brownies look? Can’t you just see them at a special Valentine’s dinner on a cute little party tray afterwards with some coffee, hot cocoa or my favorite, some bubbly champagne!
Birthday, Christmas, 4th of July, Mother’s Day and Anniversary Parties are all calling for these! And then again, all the brownie lovers are too!
More Red Velvet Lovelies!
- Red Velvet Cookie Bars
- 25 Drool-Worthy Red Velvet Dessert Recipes
- Valentine Red Velvet Party Blast Cookie Pie
- Red Velvet Cake Donuts with Cream Cheese Frosting (Of course)
- 17 Valentine Treats To Swoon Over!
- Red Velvet Luv Truffles
- “American Beauty” Retro Red Velvet Cake
- Red Velvet Levain Cookies
- 7 Layer Red Velvet Bars
- Red Velvet Tuxedo Brownies
- Best Homemade Red Velvet Brownies
- 20 Valentine’s Day Brownies To Love
Mini Red Velvet Brownies with Vanilla Bean Cream Cheese Frosting
Ingredients
Red Velvet Brownies
- 1 stick unsalted butter, cut into chunks
- 1 ¾ cups Ghirardelli Milk Chocolate Chips
- 2 large eggs + 1 egg yolk room temperature
- 5 tablespoons granulated sugar
- ½ cups packed brown sugar
- ½ teaspoon salt
- 2 teaspoons vanilla extract
- 1 tablespoon red food coloring gel
- 1 cup all purpose flour
- ½ teaspoon baking powder
- 1 ½ tablespoons Ghirardelli unsweetened cocoa powder
Vanilla Bean Cream Cheese Frosting
- 8 ounces cream cheese softened
- ½ cup unsalted butter room temperature
- ¼ teaspoon salt
- 1 tablespoon vanilla extract or 2 teaspoons vanilla bean paste I used Nielsen-Massey
- 3-4 cups confectioners sugar
Instructions
- Preheat oven to 350 degrees.
- Line an 8x8 baking pan with heavy-duty foil and very lightly grease.
Red Velvet Brownies
- Melt milk chocolate and butter in microwave until melted In a small saucepan, melt the butter over your lowest setting, then add the milk chocolate chips stirring constantly with a small whisk until melted and smooth. Turn off heat and let set.
- In a large mixing bowl, add the egg, sugars and vanilla into the bowl and whisk together until combined. Then whisk in the red food gel/coloring.
- Next, whisk in the cooled down melted chocolate into the egg/sugar mixture until smooth and combined. Make sure the melted butter isn't hot, so it doesn't curdle the eggs when you add it.
- Stir in the flour, baking powder, salt and cocoa powder and mix well until there are no more flour streaks. I like to use a spatula or wooden spoon.
- Bake 35-40 minutes, until toothpick comes out clean and transfer pan to cooling rack and let cool for 15 minutes.
- Refrigerate, covered until cooled to frost or let brownies come to room temperature before frosting.
- Lay out on tin foil or cutting board and cut into 16 or 25 squares evenly using a sharp knife. Or if you prefer, you can use small cookie cutters, round, heart-shaped or diamond shapes.
- Now Make the frosting!
Vanilla Bean Cream Cheese Frosting
- Place cream cheese, butter, vanilla, salt, confectioner's sugar and cream/milk in mixing bowl. Using a mixer, beat on medium high until well combined. Mix until smooth and creamy.
- Place frosting in a pastry bag with a pastry open or closed star tube and pipe a star in the middle, then pipe frosting around the star to create a rose.
- Add sprinkles, chocolate shavings, etc.
- Put back in fridge until ready to serve.

It should be baking powder Annie. I hope they still turned out for you as far as taste. I updated it, I do thank you for letting me know and am truly sorry.
Hi Kim,
Is it baking soda or baking powder? Ingredients say baking soda but the directions say baking powder. I rolled the dice and used baking soda because I had already started to make it. Just like another commenter said, the middle of the pan the brownies got really flat and the edges were raised. 🙁
I apologize Barbara! Updated the instructions, so I hope this helps you!
Also step 7… is it baking soda as listed in ingredients or baking powder as directed in instructions? I’m not a “baker” so if any of this is obvious typos and clear to an average baker, I apologize. It’s just very confusing to me. I wish someone could set me straight.
Hi Suz! I’m so sorry that happened to you. If you over-beat and or under-bake the brownies, that will happen. When you beat the eggs and butter you incorporate air into them, and the flour stabilizes the air bubbles. But if too much air is in the mixture for the amount of flour, the brownies “over-expand” as they bake, but collapse as they cool and the unstable air bubbles deflate. Hope that helps? I hope you try it again!
Kim, I made this recipe twice and each time the middle caved in so the side were high and the middle was caved in! What went wrong. I just loved your look but mine was not near it… Help!
Hi Lyn! It’s totally fine to leave them out for your party for hours. If you have any left, just store them in the fridge after the party, if you’d like. Hope you enjoy!!! 🙂 Thank you!!
Hello. These look so pretty. I am going to make them for a Valentines party. Do they have to be refrigerated after frosting them? I was hoping to leave them out on the counter. Thanks 🙂
Absolutely Pat! Happy Baking and hope you enjoy!! 🙂
Can I double the recipe and make it in a 9X12 pan?
Jess, Congrats on your pregnancy! LOL, you just made me giggle, being pregnant and confused…I swear it happens to all of us! But I did update the recipe instructions just a little to add more clarity. Yes, add the egg/sugar mixture to the chocolate/butter mixture. 🙂 Hope you enjoy! These are amazing!
Hey, I want to try these for this Valentine’s Day, but I need some clarity about the egg step. Am I adding the eggs to the chocolate /butter mix? So sorry to ask such a silly question, but I’m pregnant and therefore confused all the time.
These are such pretty and adorable little brownies!! A cute dessert, perfect for Valentines! The red is so striking!
I agree Deb! They are the cutest!! Thank you so much!! 🙂
I love these sweet little cuties! Not only perfect for Valentine’s Day, but for any day!! Thanks, Kim!
Definitely Teresa! 🙂
Send a batch my way, Kim. 🙂
Thank you Kelly! 🙂
Thank you Katherine!! 🙂
Mmmmm yes. Definitely with coffee! The frosting sounds so creamy and vanilla-y! And I love red velvet. Perfect for Valentine’s Day!!!
I would eat about a million of these if I made them. So yummy – that vanilla-bean cream cheese frosting would be so perfect!! Drool!
Thank you so much Catherine!! xo
Oh my goodness, these red velvet brownies are chewy, gorgeous deliciousness! They look soooooo scrumptious! 😀
LOL Kelsie! I love the way you think! 🙂
Yes, absolutely Laura! 🙂 Enjoy!!
These would be the cutest for a Valentine’s Day party! But I’d have to make two batches because one would be all for me 🙂
Can I just use regular vanilla extract instead of the paste?
Thank you so much Maria, that is sooooo sweet! These little brownie bites are the cutest for sure!
These are too darn cute Kim:) You are the Godess of baked goods, my dear!!! I’ve never met anyone that doesn’t love red velvet cake and making a brownie version of that is genius!.